Monday, May 23, 2016

#Besties- Process video for Therm O Web

Hello everyone!  I'm here today to share a project I made with some AWESOME stamps and dies from Taylored Expressions.  I combined the die with some DecoFoil foam adhesive and foils from Therm O Web for some beautiful embellishments on my page!

I also just started subscribing to the Hip Kit Club monthly kits and I LOVE the colors in this months kit!  There are tons of exclusive papers and embellishments!


Check out the process video below to see how I used the stamps, dies, and DecoFoil products!


Thanks for stopping by and stay scrappy my friends!

Friday, May 20, 2016

Most Favorite Process Video- Just Nick cut files

HI everyone!  This week on the Just Nick blog we are focusing on Background files!   These are some of my favorite files to use.  There are TONS to choose from in the store.

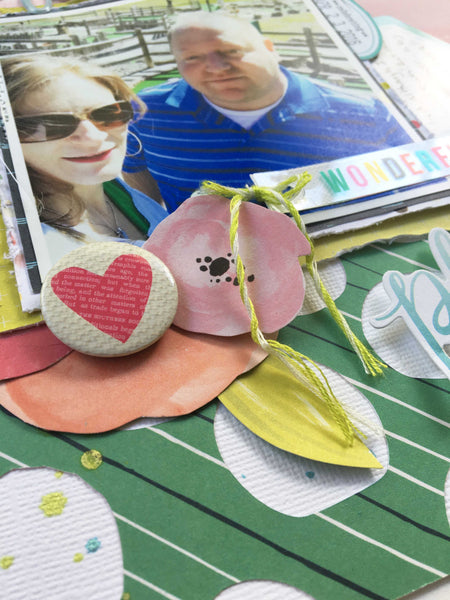
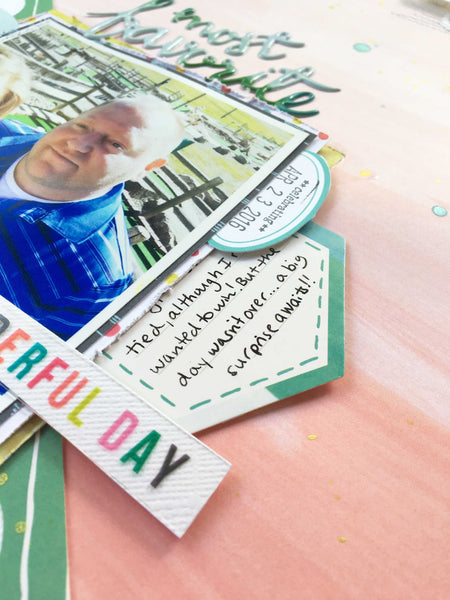
After I chose the photo I wanted to work with, I decided to go with the "Pebbles" background.  The photo is of my husband and I playing mini golf, and I thought the pebbles would be symbolic of golf balls!


Here is the finished product:


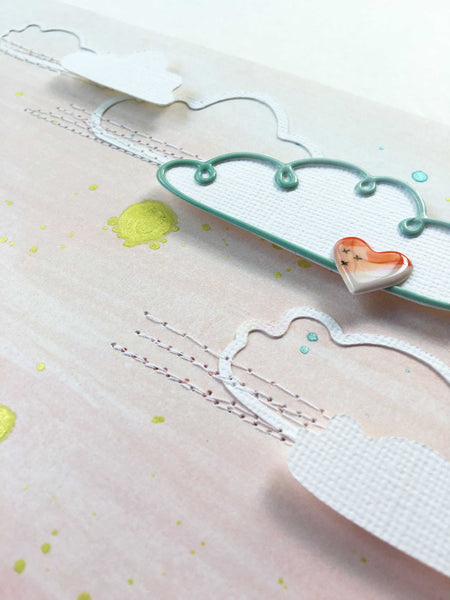
And a few close ups:


You can watch how I created this page, including how I used the shape in Silhouette Studio here:


Thanks so much!


Tuesday, May 10, 2016

Strawberry Patch Quilt- Jennifer Jangles "Strawberry Festival" fabrics

Hello everyone!  I'm here today to share a large lap quilt I made with the Jennifer Jangles "Strawberry Festival" fabrics from In The Beginning Fabrics for Therm O Web.  I was especially drawn to the polka dot prints and the smaller scale floral prints.

  quilt angled


I thought that a simple four patch design with a polka dot and floral in each patch would be a great way to show case these prints.


IMG_7150
   four patches 1 

 I set the patches on point with a square of some of the white daisy prints in black, red, and blue.

  four patch layout 1


I laid my design out in diagonal rows for sewing and trimmed off the points on the edges. Then I got to work with my Spray N Bond® Basting Adhesive!   I first put down my backing fabric, then the batting on top.  I fold back the batting to spray it with the Basting Spray and fold it back onto the backing and smooth it out.

  basting 1

Next I added the top and smoothed it out on top of the batting.  I fold back the top and again spray the batting with the Therm O Web Spray N Bond®. 

 I ONLY use Spray N Bond® for basting on all my projects!  I feel it saves SO much time when basting.  Plus, it does not have that strong of an odor, drys fast, and can be washed. 

 Next, I quilted an orange peel design with my walking foot, then trimmed and sewed on my binding to the front. 

 I have read about glue basting a binding when machine binding, so I decided to try it with the liquid Fabric Fuse™ adhesive.  I first ironed the front of the binding to send the seam, then flipped the quilt over and ironed the binding towards the back, just past my seam from the front.
  IMG_7964

iron binding 1 


 Next, I went around the whole quilt with Therm O Web Fabric Fuse right on the seam and sealed it down.  The glue stuck SO QUICKLY and it almost looked as if it had already been hand bound!  I let it dry for a few hours before I attempted to stitch.

  Fabric fuse 1fabric fuse 2


glued binding 1 

 I stitched from the front around the whole quilt, and the back came out perfectly!!!  There were no spaces where I had missed catching the edge of the binding, and the stitching was pretty straight!  I will definitely be using the glue basting next time I machine stitch the binding on!

  sewing binding 1 

binding corner 1 

binding edge 

 I just love the country charm feel that this quilt adds to my porch for spring!

  patch quilt on chair 
quilting close up 1 
Strawberry Patch Quilt Audrey Yeager 
quilting close up 2 
quilt back close up 
quilt back   

Stay scrappy and happy my friends!

Sunday, May 8, 2016

NSD You Tube Hop! "Explore" process video...

Oh my gosh there is an AWESOME You Tube scrapbooking hop going on this weekend!   You MUST check out all the amazingly creative videos!


I am SO excited to share a process video with you....one the the first I've ever made!   I show you how I design a page using the Silhouette software and then create it on paper with the Simple Stories "You Are Here" collection!


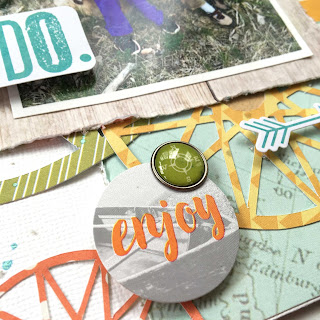
And some close ups!


But to see how I created this page, check out my video HERE:


To be eligible for the prizes, you must subscribe a leave a comment on the videos you watch.  Random winners will be chosen from a huge slew of prizes on May 22!

Happy (You Tube) Hopping!  Stay scrappy my friends!