Showing posts with label kit club. Show all posts

Wednesday, June 22, 2016

Just Clique Kits Pep Rally- You & Me Everyday with process video

Hello everyone!   I am super excited that I am part of this months "Pep Rally" for Clique Kits!


During the Pep Rally, you will hop along to Clique Kits subscribers and DT blogs to see how different people have used the June Kit, La Dolce Vita.  Look at how gorgeous this kit is:


Today I am sharing with you my THRID page I have made with this kit.  I am lucky to be part of the Just Nick DT, and this month we are collaborating with Clique Kits.  I will put links to my other pages below.

I wanted to pull out the rainbow of colors for this page, and here's what I came up with:


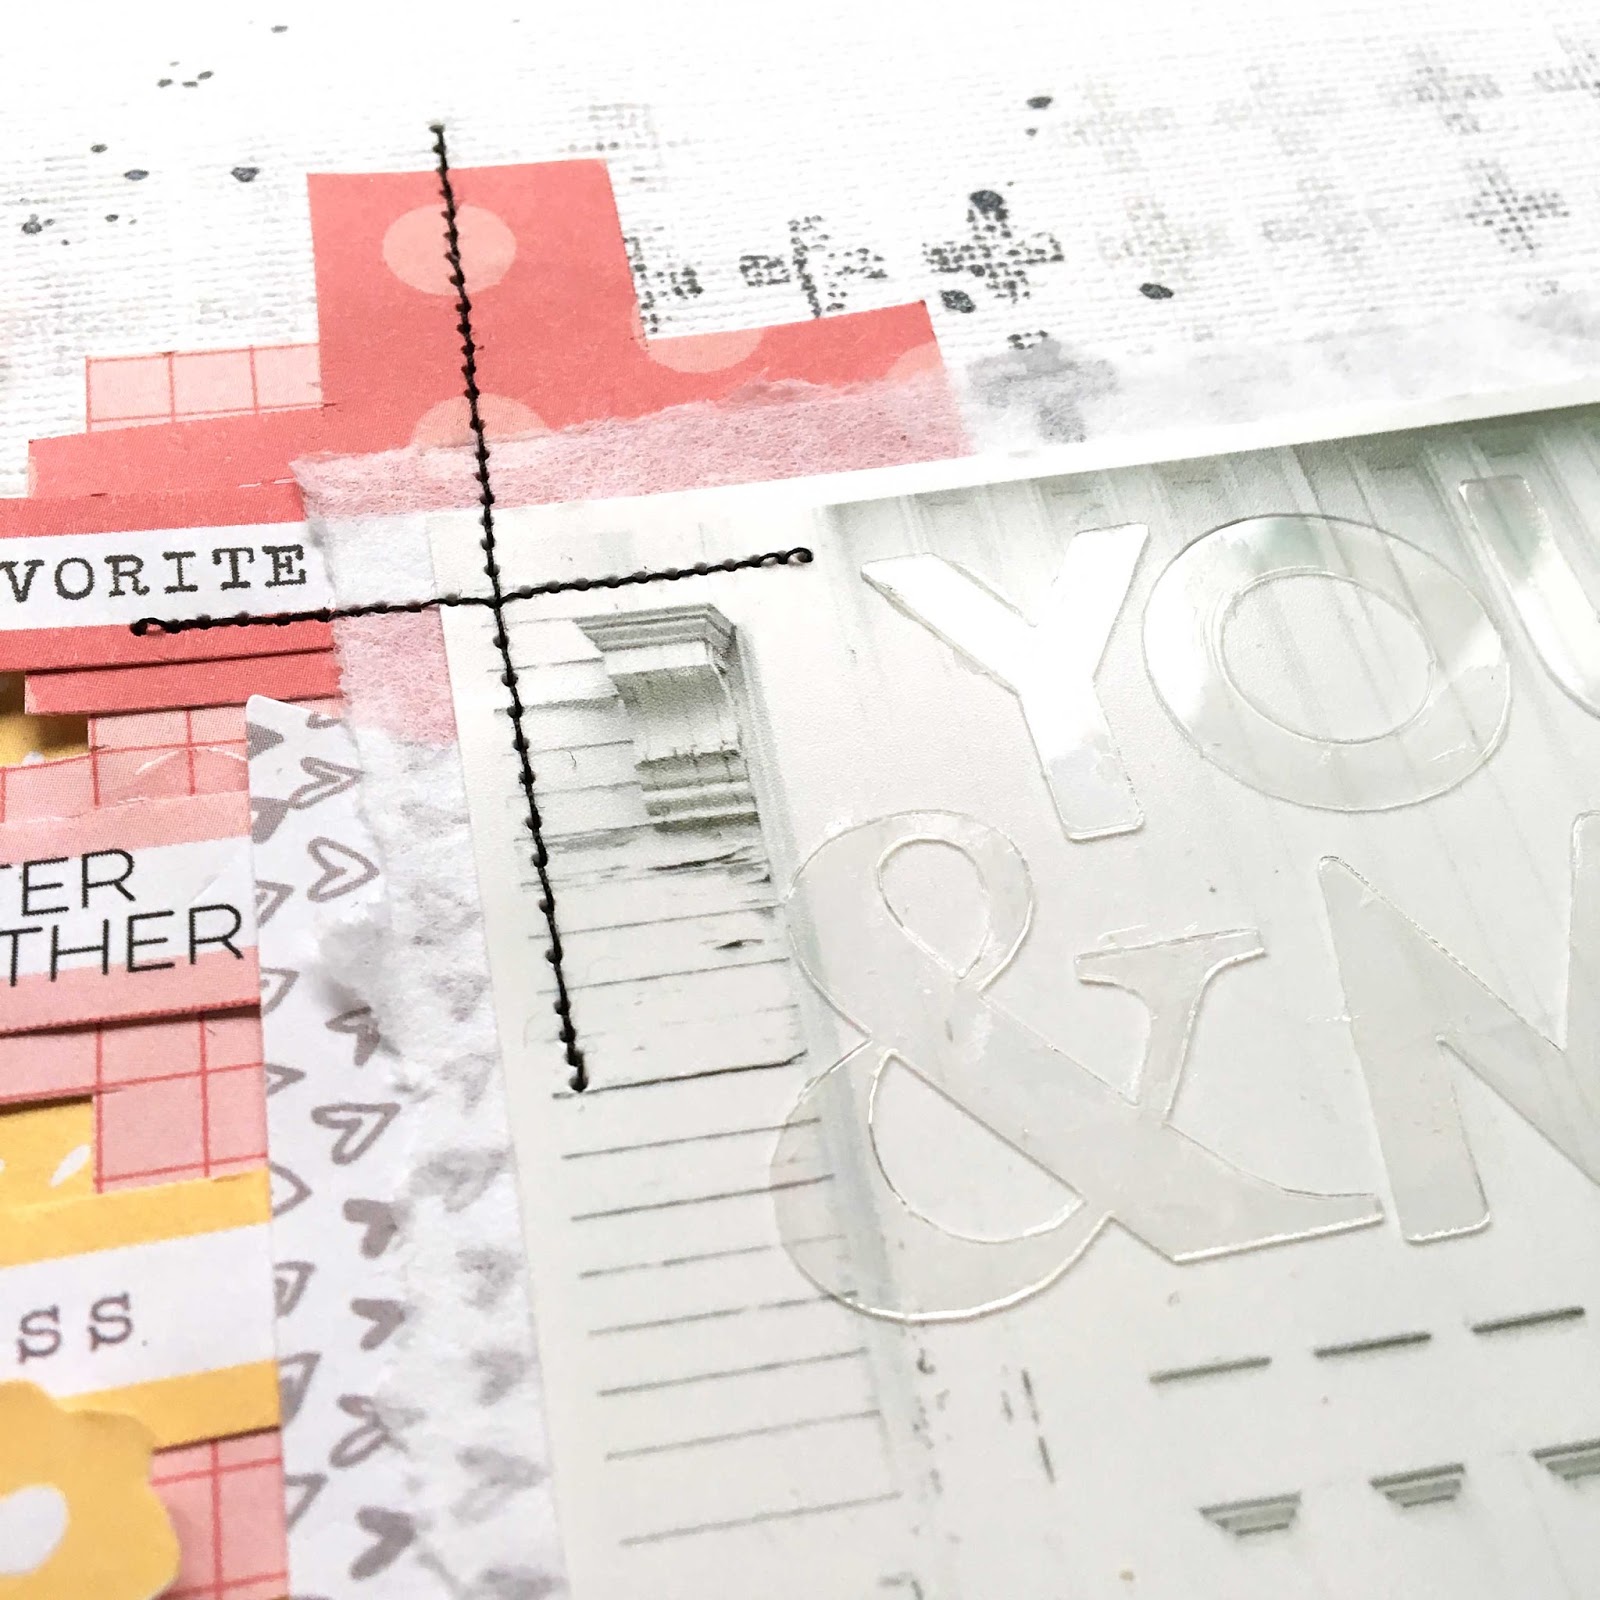
I clustered all my "rainbow" bits on the left of the photo.  I dug through the kit to pull out rainbow papers, sentiment strips, and fussy cut little rainbow bits from one of the patterned papers.


On the right, I stuck to black and white and grey with just a little peek of color on the date banner.


 I decided to leave the acrylic pieces on the photo clear to add some depth and interest without taking away from the photo.
If you would like to watch me create this page, I have a process video here.  I'd love to hear what you think and am always welcoming new subscribers!


If you'd like to check out my other pages with this kit, I have two other process videos as well:


Here is the hop order for today. Be sure to check out the other amazing creations people have made with the kit this month!

Monday, May 23, 2016

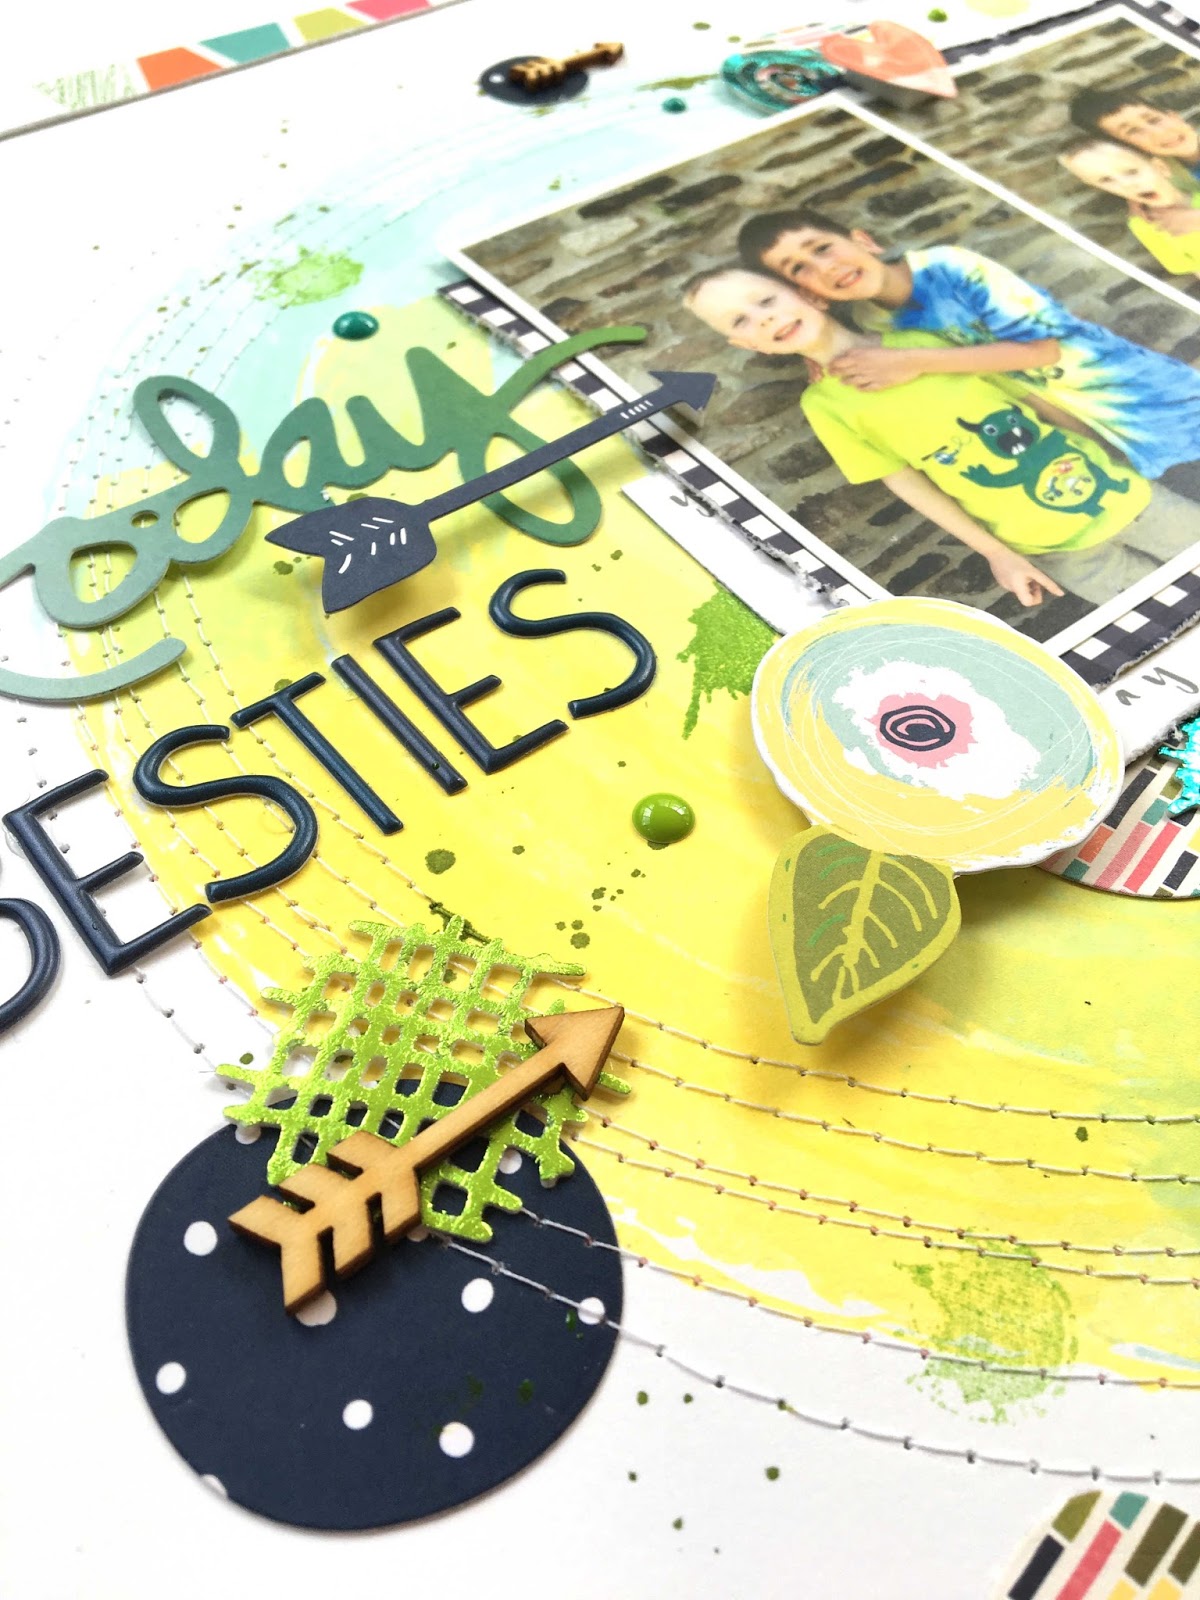
#Besties- Process video for Therm O Web

Hello everyone!  I'm here today to share a project I made with some AWESOME stamps and dies from Taylored Expressions.  I combined the die with some DecoFoil foam adhesive and foils from Therm O Web for some beautiful embellishments on my page!

I also just started subscribing to the Hip Kit Club monthly kits and I LOVE the colors in this months kit!  There are tons of exclusive papers and embellishments!


Check out the process video below to see how I used the stamps, dies, and DecoFoil products!


Thanks for stopping by and stay scrappy my friends!

Wednesday, November 6, 2013

Frosted Designs Guest Designer...seeing deeper into a kit...

Hello!  Here again for another guest post for Frosted Designs!  I am doing a giveaway of the November kit going on until Nov. 11th which you can read all about HERE.

Whenever I get a kit, I try to challenge myself to make my projects look completely different from the first impression you get by looking at the kit.  At first glance of the November kit, it looks very girly...flowers, doilies, pinks...so of course I thought to myself: "Let's make a boy page out of this!"  And so it began...

To try to make a more boy page, I pulled some papers that had the obvious blues and aquas in them.  The Pink Paislee color wash paper with the stars die cut out was where I started, and then I pulled in the navy paper from the American Crafts Dear Lizzy line.  How perfect is it that the text on the navy paper says "I Love you to the stars and back" and the Pink Paislee paper has stars on it?!  Awesome!


I backed the stars with the yellowish green paper from Glitz Designs. I used a large color wash tag that says "Love This" and toned it down a bit with a wash of a cream colored mist.  Then I used some bright orange and red gelattos and just painted them on a piece of white scrap paper and put it behind the "Love This" to give some nice, bright color to the page.


I layered a few of the other bits from the Crate Paper die cuts and the Pink Paislee sentiment stickers and voila!


So after I finished that page, I was looking at the pile of things I had left on my table, and I noticed there was a lot of green/blues tones.  Green happens to be my favorite color, and I thought to myself, can I DO a monochromatic layout?  I don't do them that often.  I thought about this fall photo I had and how bright and yellow the tree was and I thought that having a monochromatic page would really make the colors in the photo stand out.


I began my mixing some green mist with gesso and dabbing it through a stencil.  Then I took a grey mist and made circles with the wand.  I punched a few leaves from the piece of patterned paper that looks like a paint chip from the Crate Paper Maggie Holmes line, and I layered them from darkest on the bottom to lightest on the top of the page.


I layered some greenish papers and added some black and white neutral bits here and there with a few touches of gold. For my title, I really love the look of hand script, whether it be die cut, or hand drawn like I did with a sharpie.


I want to thank you again for having me as a guest designer!  I really enjoyed working with this kit and really stretched myself creatively!

Stay Scrappy my friends!

Monday, November 4, 2013

Guest Designing for Frosted Designs! *November Kit GIVEAWAY*

**Giveaway at the end of this post!***

I am so excited and honored to be guest designing for Frosted Designs this month!  Thank you, Barb, for the invite!

I am working with the November kit, "Family Blessings", which is filled with lots of goodness from Crate Paper, Pink Paislee, Glitz Designs, and much much MORE!  Read more about the kit HERE.


Getting a new kit is like Christmas morning every month!  After I opened it and went through everything a few times, I felt like putting together a really girly page.


I started with the Pink Paislee color wash paper for the background and it adds just the right amount of "artsy-ness" to the page. But I added a few more splatters of mist to balance the design. Of course to play up on the girly feel, I used some fussy cut flowers and a few of the doilies from the kit.  Some of my favorite colors are navy and gold right now, and this kit has the perfect amount of both for accents!


And then the little bits of yellow really add some great contrast.  Flair is so fun, and there are lots to choose from from the kit!  I how about those resin flowers?!  Finally, for a little sparkle, a few rhinestones scattered around the page!


I really enjoyed creating with this kit and I can't wait to share what else I have done with you!

****GIVEAWAY****

Would you like to win one of the November kits shown above???  All you have to do is leave a comment on this post, follow me on my blog (through whatever blog reading platform you use), AND like Frosted Designs on Facebook HERE.  Easy Peasy!   I will draw a winner on MONDAY, November 11 at the end of the day!


Stay scrappy my friends!


Sunday, April 14, 2013

April Paper Issues Kit-Lucky You

I am so excited to share the new Paper Issues http://paperissues.blogspot.com/kit for April!  Paper Issues will be releasing a new kit quarterly.  I am proud to say that I co-designed this kit with Carol Monson!  We focused on some bright, fun, primary colors and wanted to have a variety of embellishments.


And guess what???  You can save 20% right now by typing in the code AUDREY in the Paper Issues shop!  That's 20% your ENTIRE purchase!


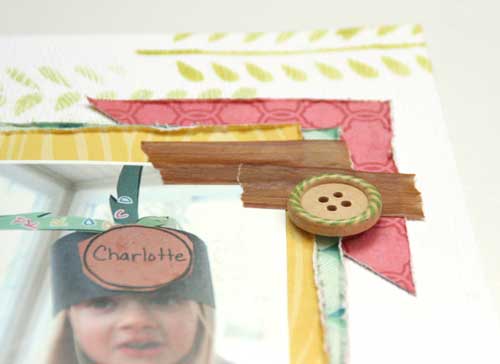
Here is a page I created with this kit.  Charlotte had a "Chicka Chicka Boom Boom" day at school and I thought that the green paper in this kit would make great coconut tree leaves!  :)


I cut the leaf shapes by hand and then just snipped along the edges to create the fringe.  Then I stitched down the center of each leaf.  I didn't want the ends of the pins to stick out the other side of the wooden button, so I just bent the pin in half (which is hidden under the button).


I used the vine stencil included in the kit and some different shades of light green inks.  The wooden buttons in the two photos below are NOT part of the kit, but I just wanted to have a few more wood pieces on my page.

 I used my Cricut to cut the title from the multicolored vellum.  The font is called Dunkin' Sans.


Want to see some more lovely projects using this kit!  Check out the ladies blogs below!


Carol Monson
Sara Zenger
Anna Sigga
Kate Vickers
Jen Chesnick

And for more fun, here is a little video that Anna Sigga put together showing you the contents of the kit!


Stay tuned to my blog for some more projects with this kit, and who knows, maybe you will have a chance to win one in a few weeks! ;)

Stay scrappy my friends!

Wednesday, September 5, 2012

3 layouts with a Gossamer Blue kit..

A few weeks ago I was the LUCKY WINNER of a 3 month subscription to the new Gossamer Blue Kit Club!!!!  The day I sent in my email with my mailing info, it was sent out and I got it 2 days later.

The kit came in a light grey paper bag with a beautiful logo sticker and sealed with washi tape.  Inside, the kit was wrapped in a teal tissue paper wrapped with twine.  The other awesome thing about this kit is that it comes with a coupon code to download FREE SVG files to cut with your die cutting machine from Lori Whitlock's store!!  How awesome is that???

The colors of this kit are perfect for some of my summer photos!

Here is a page about my kiddos and their cousins...the only ones they have, really....it was the first time the 5 of them were together.  Aren't they a cute bunch?


 I really wanted to use a lot of the Heidi Swapp banners on my background to add an element of texture.  So I misted a few of the banner strips, cut them into smaller pieces, and then arranged them on the background paper.  The colors were a bit too bright, so I did a white wash over them with white paint.  I wish the colors stood out a bit more, but it is what it is, and I kinda like the way they just blend in to the white.


I cut out the little area AROUND the label stickers (yes, it was tedious) and used them as small frames on the page.  I also used a Crafter's Workshop heart stencil and inked up a few hearts.  Some of them I outlined with a black pen.


I just love this photo of Kyler on the beach at my M.I.L's cottage in the 1000 Islands!  He had so much fun in the sand, but it gets EVERYWHERE!!!   Oh well....I guess it's worth it to watch him have so much fun.


I tore some strips of papers and then layered them together.  I used the Blazonry stencil and some white paint over them, and then some splatters of  Navy mist.


I used the large glassine envelope and cut it in half.  The top half I used for a journaling card.  I stitched the bottom closed and then added some punch bits inside, along with the card.


The bottom half I added some punched bits, a label sticker, and a banner piece that I misted in Navy, too.  Then I stitched the banner in place (and the envelope closed).  Finally I stitched a circle to frame my photo on.


And last but not least, here is another favorite photo of mine.  Right near MIL's cottage is a big field with cows that we like to go visit.  There is one lone brown cow in the bunch, and he has a habit of getting out of the fence somehow!  :)  I was trying to teach Charlotte how to say "How Now Brown Cow", but she would say something like "How Brow Cow Cow".  It took a while but she finally got it!  :)


I used a texture stencil and white paint, and then the chicken wire stencil and some grey mist from SC.  The blue flowers I actually made from the tissue paper that the kit comes wrapped in!  I just cut long scalloped strips and spiraled them into a flower, then added a button for the center.
You will also notice that I did some paper weaving of the white text papers, then I just cut some circles out of it.


The journaling card pocket is also upcycled from some packaging in the kit!  I used the package from the Heidi Swapp banners. I added some paper to the inside, stitched around the sides and top, and then covered up the logo with a circle!


So as you can see, I was super busy with this kit and just LOVED it!!  You must go check them out!