Showing posts with label Basic Grey. Show all posts

Friday, July 29, 2016

That's My Girl! Scrapping Our Stash Blog Hop with process video

Ever month, a group of my scrappy friends get together and we do a little blog hop with projects we've made from our stash!  Yes, I actually used the products I have in my stash!

Check out the Blog Hop list at the end of this post and be sure to hop along!

Today I used some older Basic Grey (Soleil) and Studio Calico (Printshop).


And some close ups of all the lovely layers!


If you want to watch me create this page, check out my video here:


And here is the blog hop order for this month!  Go see what lovely things other people have dug out from their stash!

Audrey http://audreysreflection.blogspot.com/   <--- You are HERE!


Stay scrappy my friends!


Wednesday, March 30, 2016

Grow some Yum! Just Nick Studios!

When I saw the Fancy Floral design in the Just Nick store, I thought it would look awesome done with Sketch Pens on the Silhouette!


I wanted to experiment a bit to see how the pens would do over layers of paper, and here is the result:


We added new garden beds to out yard last year and we had pretty good success with all the veggies that we grew!  The kids loved picking them when it was time!  These zucchini were HUGE!

I layered some papers on the background and made sure to measure where they were on the page.  In the Silhouette Design Studio, I added my file to the same area on the page and then ran the layout with the papers glued on through my machine with the pens.


I have to say that I am surprised at how well it came out!  One thing I noticed, however, is that on the third layer of paper, there are some spots where the pen dragged a bit because the layer was too thick.  But it is hard to notice with this particular design.


If you don't have sketch pens yet, you should really try them out!


Papers and embellies are from Echo Park "Homegrown" and Basic Grey "Sunkissed".


Stay scrappy my friends!

Thursday, March 10, 2016

March Page Maps and Just Nick cut file

Hello everyone!  Have you see the wonderful sketches this month on the PageMaps site?   It is always one of the first stops I make each month when I am looking for sketches to use!  

The Just Nick DT got to work with the sketches AND use awesome cut files from the shop!

I created this page with one of Becky's sketches (which you can see HERE) and the XO Heart Background file from the store.   I used the new Urban Luxe collection from Basic Grey. 

Charlotte and Daddy got to have a special night out for the Daddy Daughter Dance.  They went out to dinner first and she got to choose anywhere she wanted.  She chose a diner!  They went to Mel's Diner and she had a burger and fries!  Then it was off to the dance for snacks, crafts, a photobooth, and of course dancing!


I followed the sketch pretty closely, using a large swipe of black paint to help balance be design.


I created an interesting embellishment cluster by layering an "X" and an "O" cut out of different papers and a frame to tie it all together.  My journaling is a tag that is tucked under this cluster.


This is a unique and different color combo for me!  I loved layering these colors and bits from the Urban Luxe Ephemera pack!

Check out the XO Heart Background cut file in the shop HERE:


Thanks for stopping by and be sure to check out this month's Page Maps!

Stay scrappy my friends!


Monday, August 4, 2014

Feliz Cumpleanos!

As I was deciding which photos to use with this months Scrapbook Circle kit, Island Paradise, I remembered that last year I created a birthday page (or two!) with a Scrapbook Circle kit when Kyler turned 2!


2 SBC

SO, I decided to do a "Take 2" and lift myself to create another birthday page, this time of course, for birthday #3!  All he wanted for his birthday was a Dora cake, so that's what he got!  We had a Mexican themed party and it was so much fun!

   feliz cumpleanos SBC


 I started by printing a large photo and cutting out the Basic Grey paper to make the banner pieces.  I stitched them down with some black and white twine.  I had a banner in my photo, so I used the same piece of paper from the 6x6 pack in the add on to add smaller banner paper pieces to the actual banner in my photo. I added a title card and punched a circle from a journaling card to the left of my photo.

 Feliz-cumpleanos-3   


 For my title, the chipboard letters were a bit too long when layered side by side, so I stacked them in a staggered fashion and it worked out great, plus added some interest to the title!


    Feliz-cumpleanos-2

 Finally, I added some of the wood sequins that I covered with some loose glitter!

   Feliz cumpleanos 1

Thanks for stopping by and stay scrappy my friends!  

Friday, June 27, 2014

Scrapping Your Stash Monthly Blog Hop: 5 & Happy!

Welcome to the Practical Scrappers "Scrapping Our Stash" monthly blog hop!   On the last Friday of each month, a group of us share a project with older stash that we haven't used in a while.  Hop along the blog list below to see a ton of great projects making the "old", NEW again!

My daughter just turned 5 a few weeks ago and we threw a tea party for her and her friends!  The girls each got a hat that they decorated with feathers and flowers and they each got a tea cup and saucer to take home, too (thank you Salvation Army!).

For her invites, I found a tea cup card cut file (see more details below) and used some old Basic Grey "Sweet Threads" paper for pattern (these are at least 2-3 years old!).  As I was going through the papers, I realized how much I loved them, so I decided to bring them back for this page as well.


I was inspired by a quick little tutorial I saw at ScrapMuch? by Laura.  You simply cut a scalloped punched piece at the highest points instead of the valleys.  Anyways, I cut all these pieces out from lots of different patterns and created a "wreath" like pattern on the background.  Before I glued the papers down, I stitched concentric circles around the page, put the papers down, and stitched a circle around them, as well.  Then I outlined some of the punched shapes with a thin black pen to make them stand out a bit more.


There are a few mist splatters on the background and some chipboard pieces also from the Sweet Thread collection. You can also faintly see some polka dots that I lightly stamped with a black ink.

I wanted to make this page really look frilly, so I used some pearls (along with the frilly punch to create the wreath pieces), pink, and flowers.  What's more girly than that? :)


The #5 was cut with my Cameo and the "Happy" was a sticker from the collection, too!


Continue on the hop below to see MORE inspiring projects!

Audrey http://audreysreflection.blogspot.com/  <-----YOU ARE HERE!

Stay scrappy my friends!

-Audrey


Tuesday, June 10, 2014

Scrapbook Circle Projects-May

Has it really been THAT long since I blogged?  Why look....yes it has!

May was a super crazy month.  I went to a crop May 3rd, and that day I got super sick (a day after my daughter got it). I had a fever for 4 days, and for the next 10 days, someone in my house was sick.  It was tough.

Then it was Charlotte's 5th birthday on the 16th.  And we had TWO parties...one for friends and one for family (more to come on that!).

THEN, I had a super big show as a vendor for My Scraps & More at a small trade show event.  It was a LOT of planning and set up, but VERY awesome exposure for the store....I was even interviewed for a news segment!

So I am going to try and play catch up a bit this month.  And let me start by sharing my layouts with the May kit, "High Five", from Scrapbook Circle.   The May kit is still available in the store HERE.

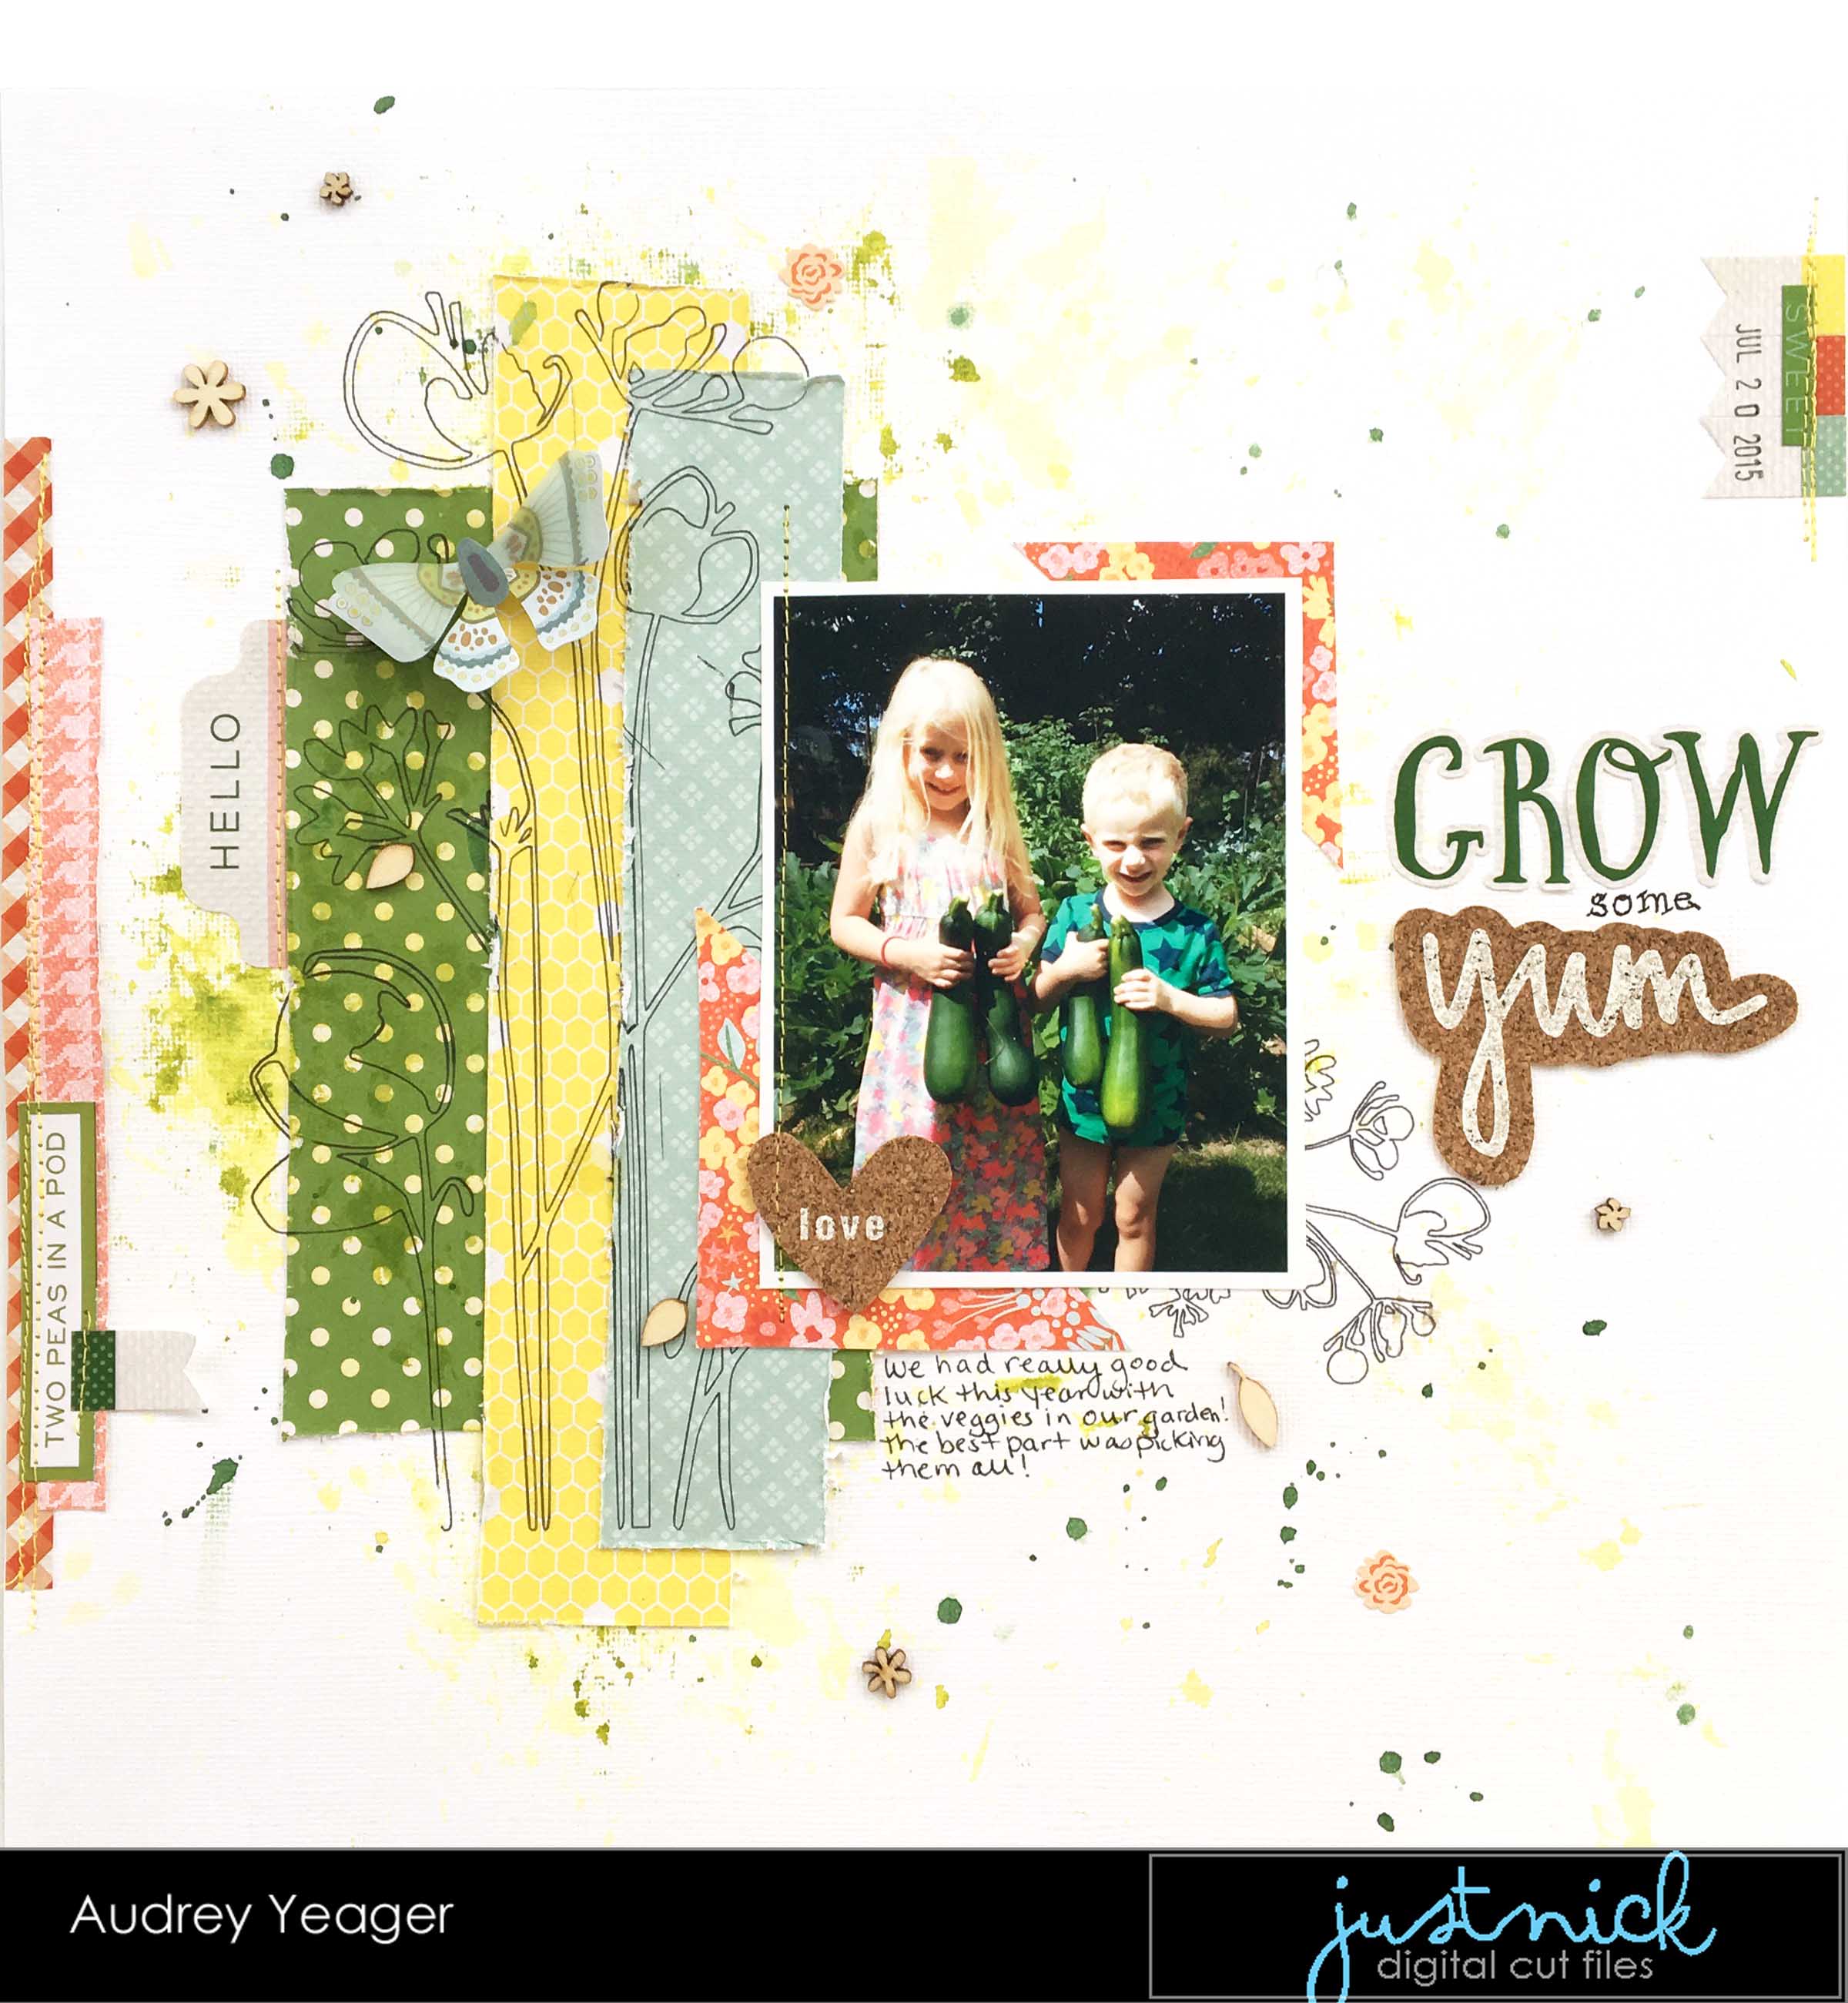
So here are my pages and a bit about them:

I am so tired of listening to kids CD's in the car, so I have been playing the radio a lot.  The kids LOVE Hey Brother by Avicii because they say "Hey brother" and "hey sister" to each other.


I used a quote from the song as a subtitle and wrote my journaling around the edge.  Behind my photos, I used a sheet of paper from Heidi Swapp (Rainbow Rounds) and cut them to make frames.


I scattered some transparencies, sequins, and brads around the page, along with a few paint splatters.


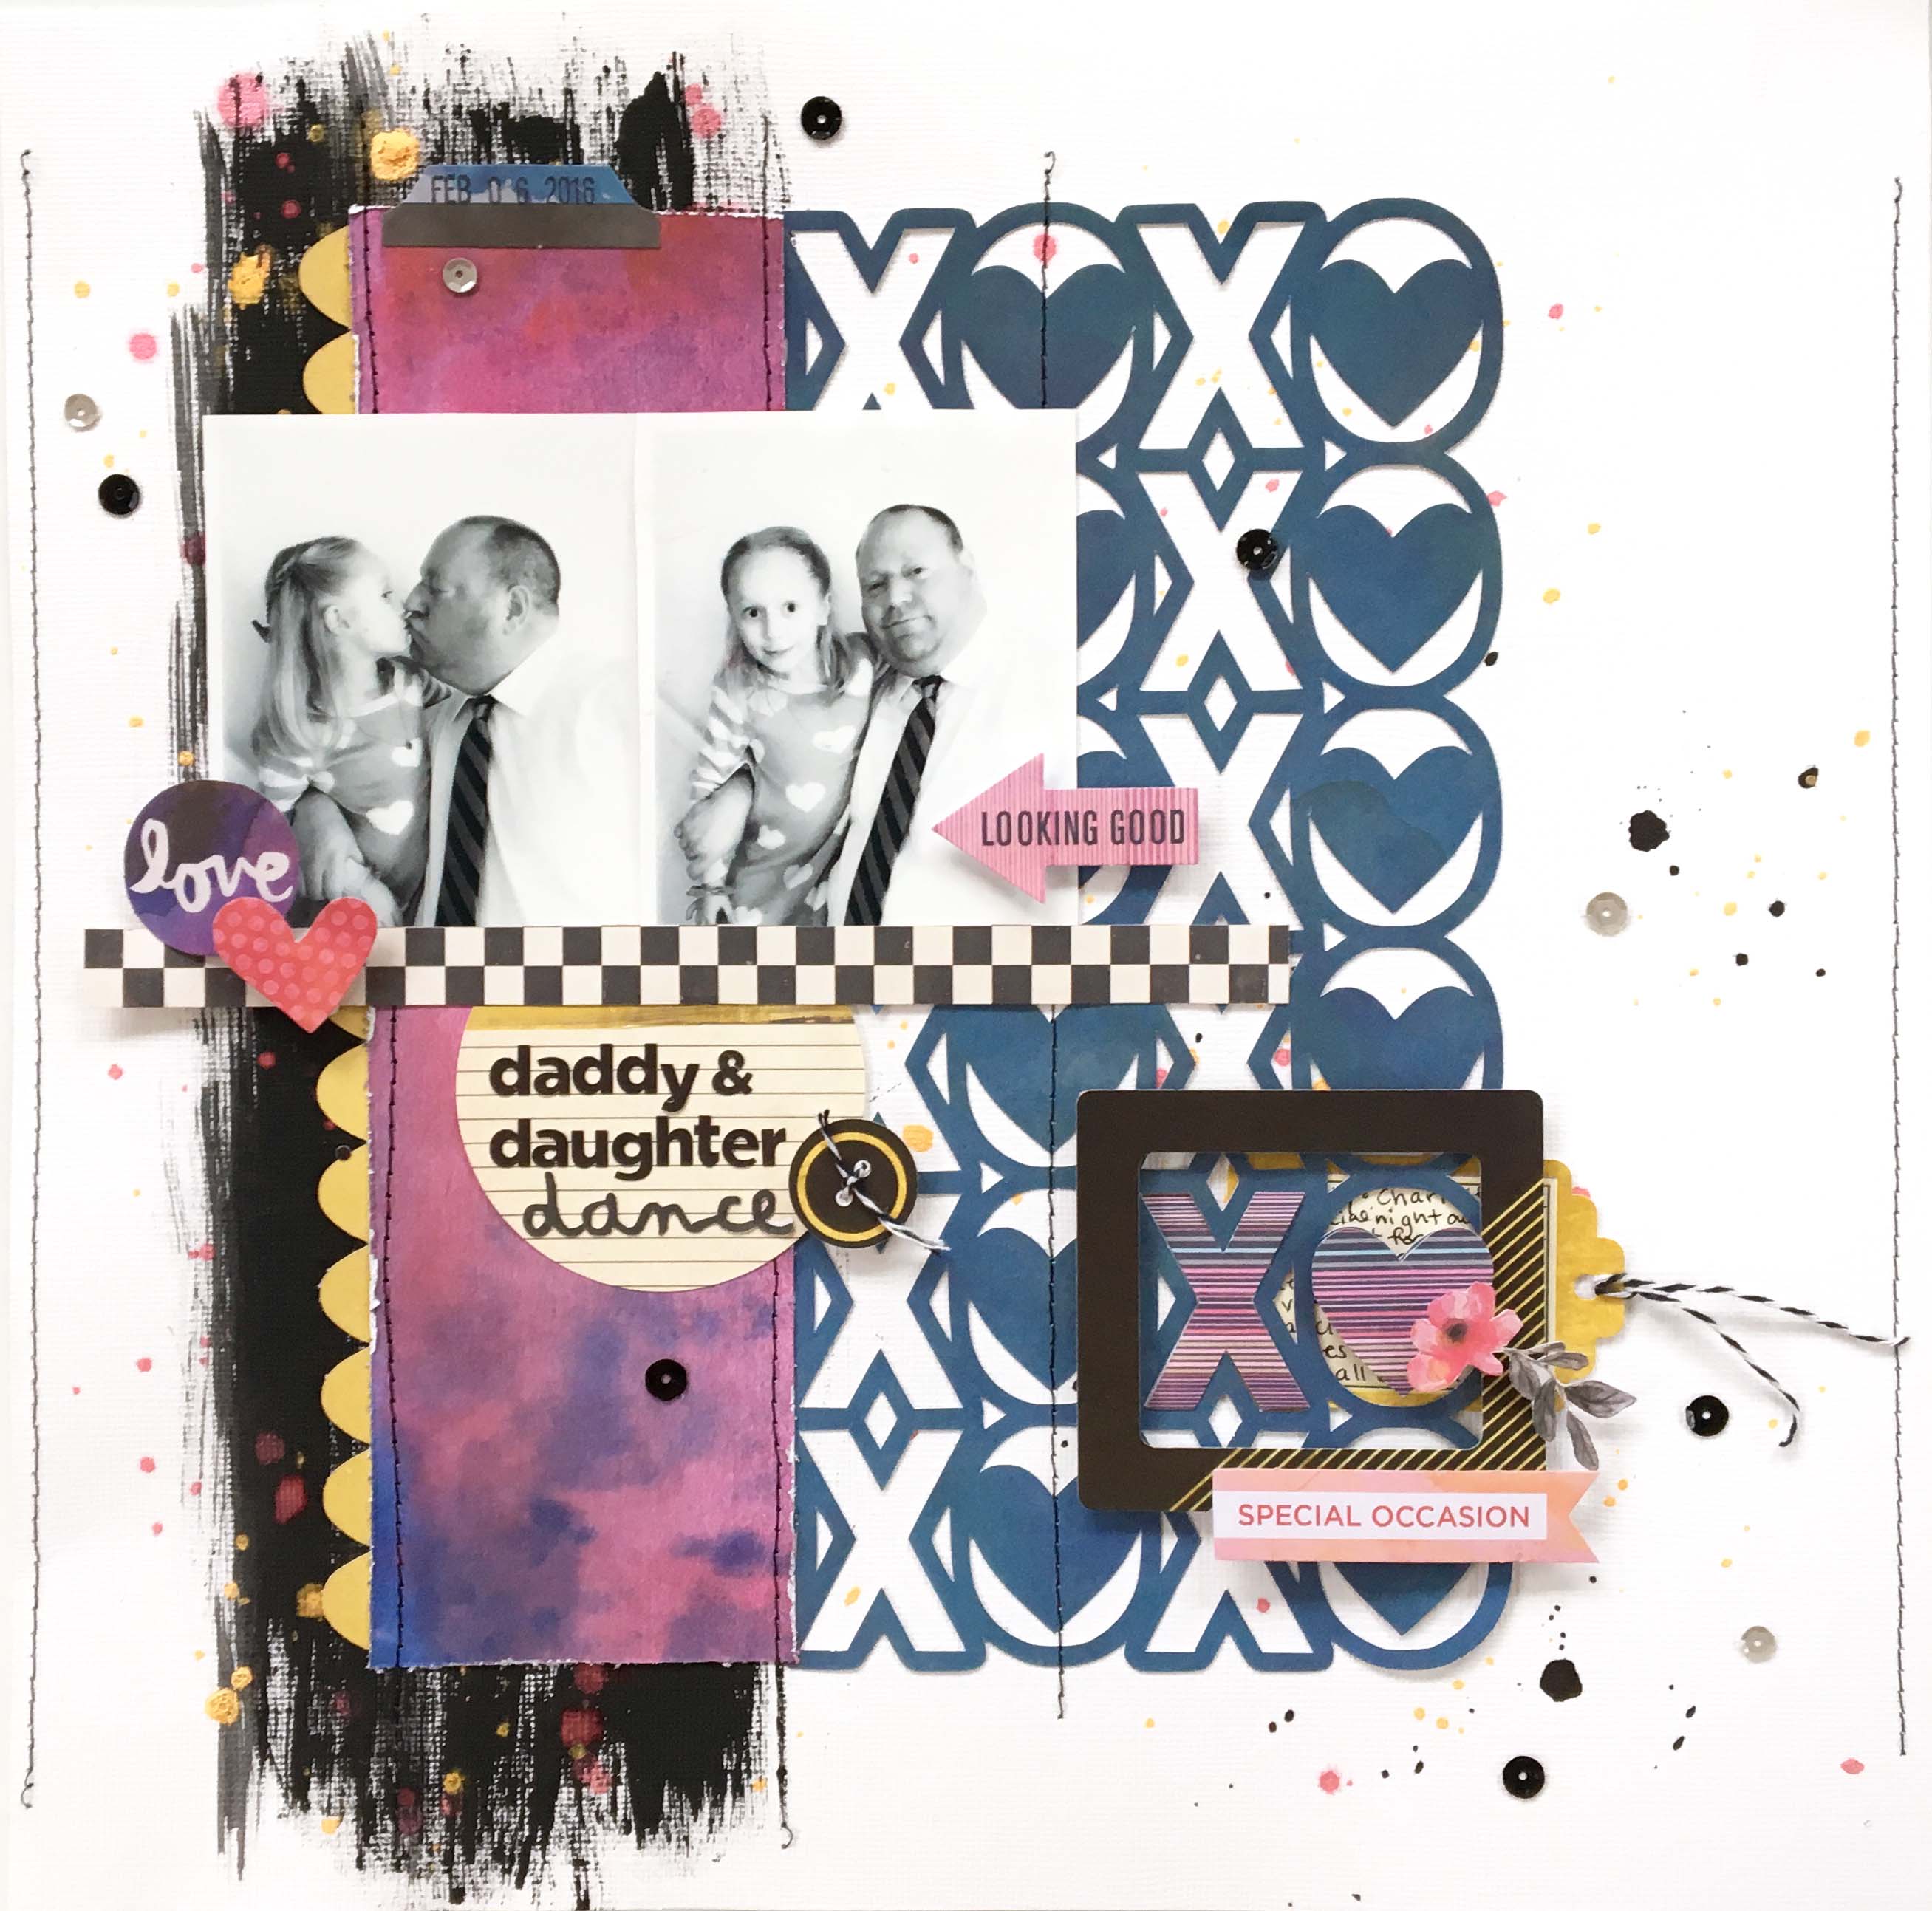
Next I did this page for a challenge prompt on the SBC page: use hearts in your design.


I started by simply cutting out hearts free hand from different patterned papers and them arranging them on the page. Then I stitched over each one with a horizontal stitch.

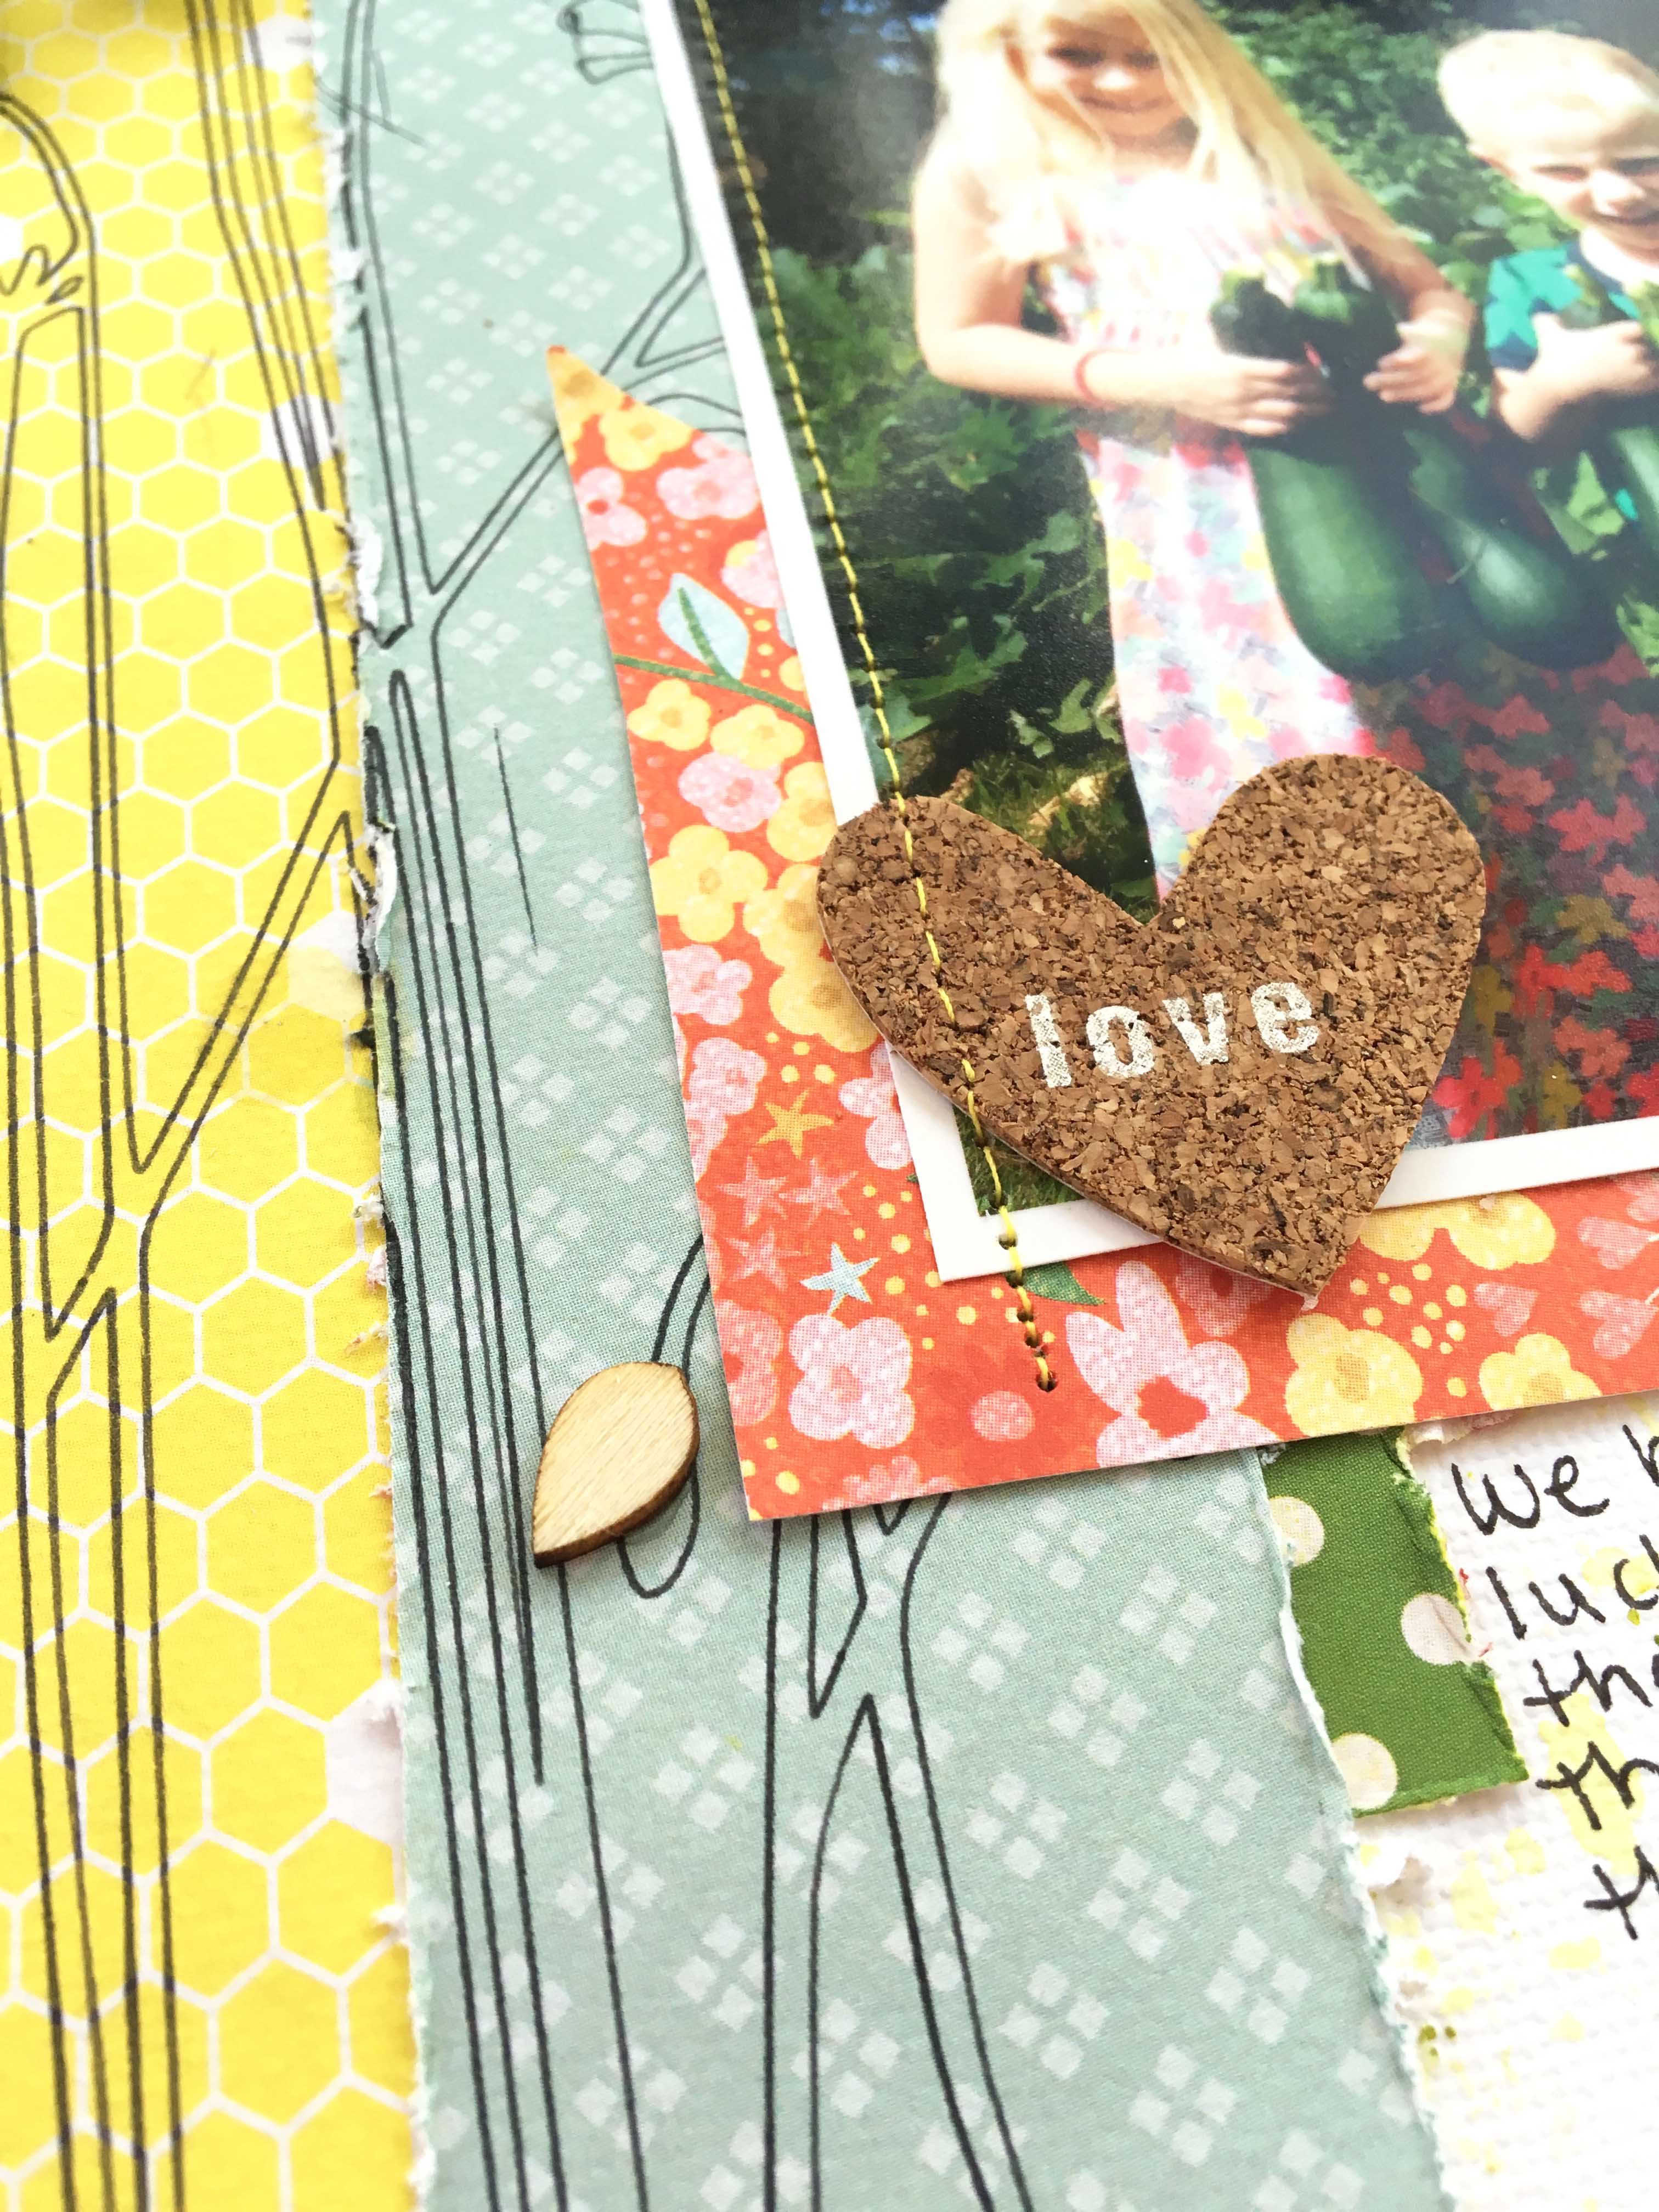
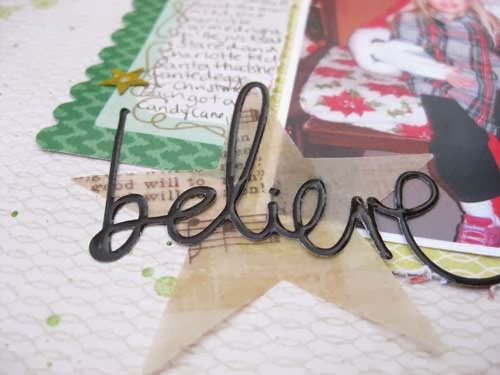
 Charlotte's favorite color is orange, so I had to incorporate that a bit behind the photo.  I balanced out the placement of the color with other dies cuts and the title.


This next page is based on a sketch from the My Scraps & More Sketch blog, using a grid design.


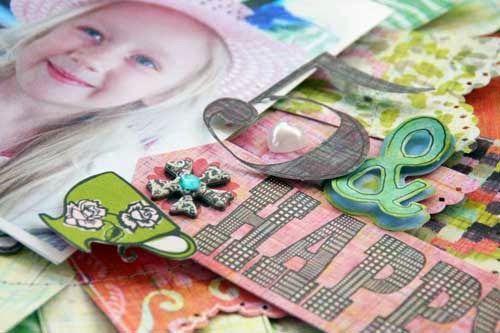
On the squares where there were no photos, I layered some paper and embellishments.  There were so many extras in this kit like stickers, transparencies, die cuts, metal clips, stamps, and more!  I use them all!  :)


When I saw the sticker that said "Joy", I knew exactly what my title was going to be!


Here I did some stitching over the chevron stamp, and then added some small brads from my stash for the jouraling sticker.


Lastly, I played around with my Silhouette for this one, and I love how it came out.  Not the best photo of me, but it was the only one I had on my actual birthday, so I decided to use it!


I started by printing the numbers through the Silhouette software and set it so that only the 3 and 8 would cut out while the rest of the numbers were just printed.  Then I backed the 3 and 8 with paper.


 I added only a few simple embellishments for some color and to help draw your eyes across the page because I thought the numbers were a big focus for the page and didn't want to add too much else.


I'll be back with more....hopefully a lot more, for June!

Stay scrappy my friends!
  .

Saturday, March 8, 2014

My Scraps SKETCH and Scrapbook Circle: Pizza Night!

The new Friday sketch is up at the My Scraps & More sketch blog this week!  When I saw the arrows on the sketch, they reminded me of triangles. And it just so happened that there were LOTS of triangles in the Scrapbook Circle kit this month, Portobello Row!  THEN, I was looking through my photos, and how perfect are photos of PIZZA NIGHT for triangles.


On the background, you can make out some yellow spots that I stamped through the hexagon stencil in the kit. I added the patterned paper with the small triangles first, then some strips of grey star paper running behind the photos.  To draw your eye towards the photos, I cut out some large triangles.  I actually used the "The Best" sticker from the Basic Grey sticker sheet as a template to trace my triangles.  At the end of the last triangle, I placed one of the Crate Paper triangle brads.  It is actually a dark pink color, so I painted it to match the reddish shade on my page.
pizza-night-2


A few stickers placed here and there, plus these AWESOME Crate Paper acetate letters and a piece of exclusive flair to "top" it all off!
pizza-night-1

This kit is SOOOO awesome to work with!  Some great colors and patterns!  Will be sharing more over the next few days!
Hope to see you join in on the sketch this week at the My Scraps & More sketch blog!


Stay scrappy my friends!

Monday, December 30, 2013

We are Perfect Together- *Scrapbook Circle Jan. kit*

When I opened up the January Scrapbook Circle kit, it was like spring hit me right in the face! The colors are so bright and fun, and although many of the papers are from valentine's collections, they are versiatle enough to use for anything, and I love that about kits!

I was drawn to this bright, watercolor print paper from the Basic Grey Fresh Cut collection and thought it would be perfect for some girly photos of Charlotte and I from a wedding in November that we were both in together.  I used sketch #258 from Creative Scrappers that you can see HERE.  I began by splattering the background with white paint, and the white cardstock strip with black paint.


I stuck closely to the sketch, and the squares that weren't photos I wanted to really jazz up a bit.  On this one, I used the January cutting file from the Scrapbook Circle store and wove the metal clip through the holes.  I added a fussy cut heart doily from a piece of Crate Paper and popped another heart from the same paper off of it.


I needed to balance some of the green color that was on the patterned paper, and the Heidi Swapp "Citron" color shine mist was a PERFECT match!  I painted the exclusive SBC wood veneer square white and then misted it with the citron mist.  I added another small doily and the xoxo from a piece of paper.


Finally, I layered some fussy cut flowers and a doily on another square.


And here is a little look at the kit!  What do you think??


Stay scrappy my friends!

Sunday, December 29, 2013

Believe...

I am never caught up with my Christmas photos.  Doing a December Daily at least makes me happy that I get it all documented, but I really like to do layouts with my photos, too!

So anyways, here is a page with a Santa photo from 2012!  It was the only Santa photo we got that year, although it wasn't the only time we saw a Santa.  It was at the Christmas Carousel near my parents house.

I made this page based on the 12/27 sketch from the My Scraps & More Sketch Blog (which, by the way, is having a DT call that you can check out HERE).  I used the Basic Grey 25th & Pine colllection, which I purchased (of course!) at the My Scraps & More store!


I shrunk the sketch down a bit and decided I needed to add a border to the bottom, so I just used some washi tape.  On the background, I splattered some mists and added a few sequins here and there, and some wood veneer bits, too.


I wanted to add some interest to the squares in the sketch, so I added some vellum tags from Pink Paislee and some glittery brads.


I kept the title simple using a Heidi Swapp sticker and another vellum piece from Pink Paislee.


With the new year approaching and the holidays over, I am going to try to post more....I've been slacking the past few months!

Stay scrappy my friends!

Thursday, December 19, 2013

Play Date! And a sketch DT call!!!

Charlotte has been making some new friends at school this year, and we have had our first couple of playdates!

I love the colors in the Basic Grey RSVP collection that I got from My Scraps & More.  Even though it is birthday themed, it was perfect for this fun "playtime" page!

I used the latest sketch from the My Scraps & More sketch blog, HERE!


And here is the sketch:


I kept the page pretty simple.  I used some stickers for a small banner in the top corner.  I splattered some mists and some star stickers on the page to add movement.


The I popped some letter stickers up near my journaling with the girls' initials.  And I created a visual triangle with three large circle stickers, too.


Do you like using collections for themes other than what they were intended?  Then maybe you would like Tammi's Day 6 challenge on the 12 Days of Christmas going on at the Forums!  You have until January 5th to enter your projects!


Also, the My Scraps Sketch Blog is having a DT call.  Requirement are 2 sketches a month.  Check out all the details HERE.