Showing posts with label Cut Files. Show all posts

Thursday, July 7, 2016

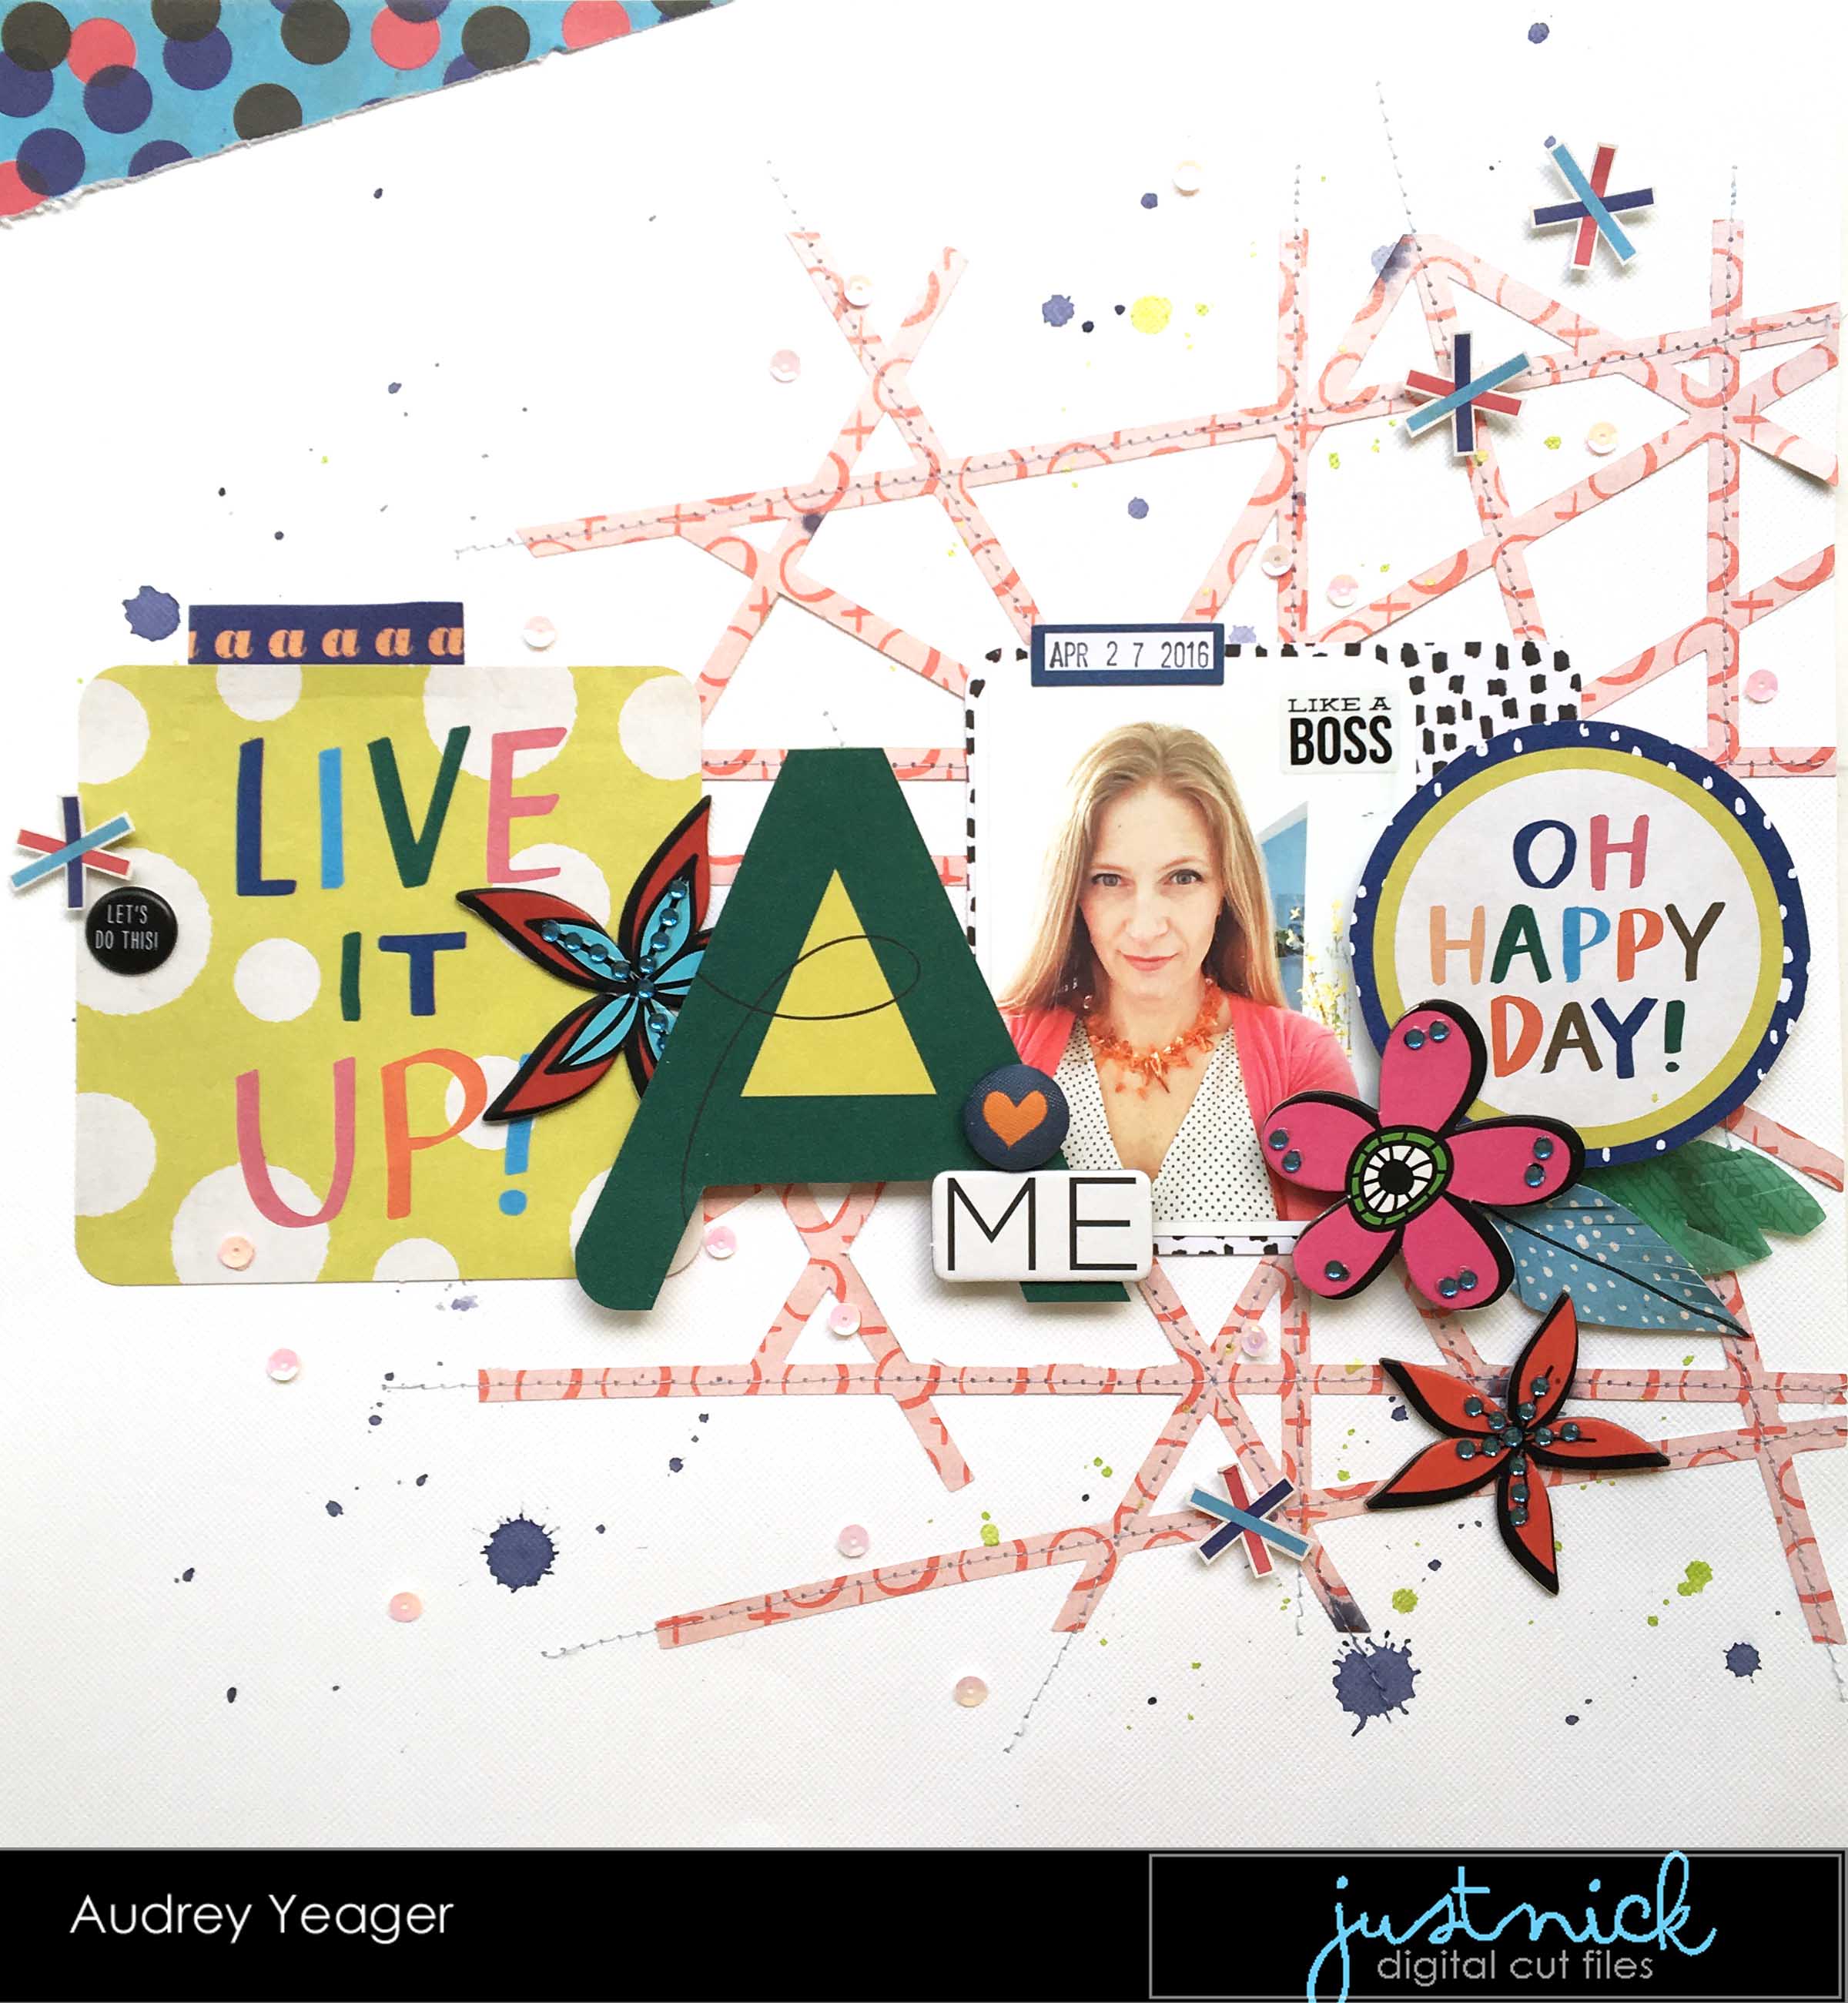
Live It Up "A"! About me for Just Nick with a process video.

I'm so excited to be back for another term at Just Nick!!  I LOVE using Nicoles' cut files and you are going to fall in love with the upcoming designs!

The next few weeks, the DT are introducing themselves with an "About Me" page.  And here is my page:


I went through the store and chose the Criss Cross background for my page for the simple reason that I just LIKED it!


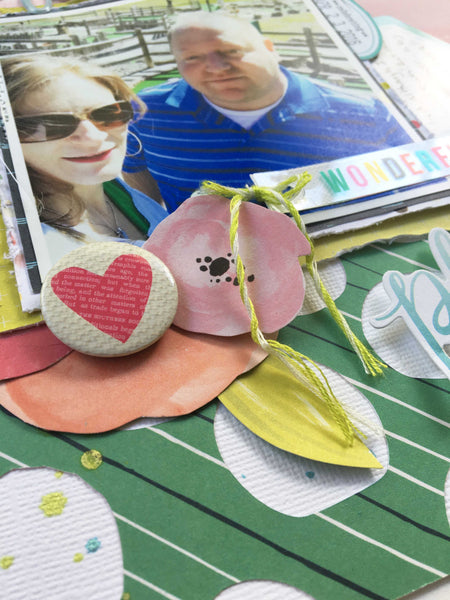
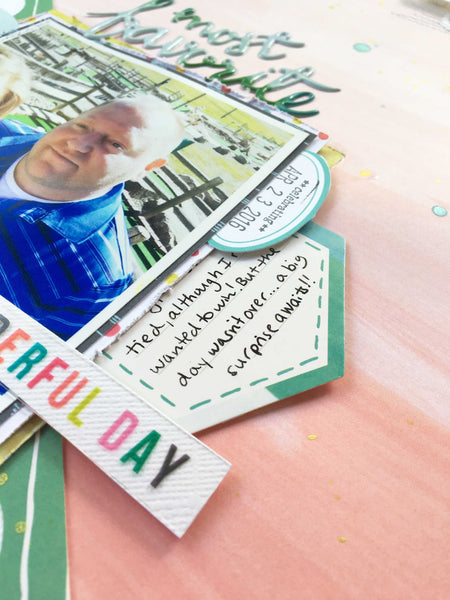
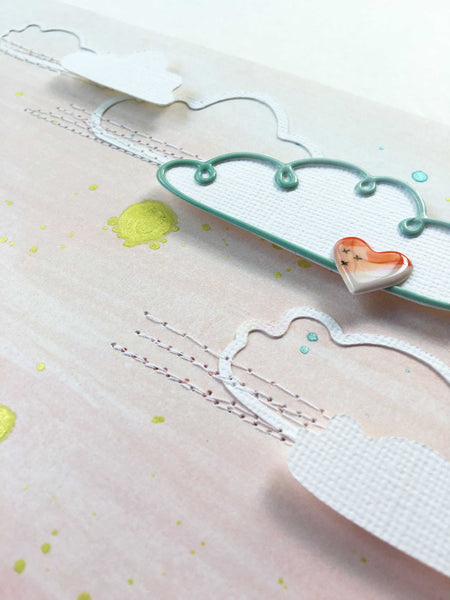
Here are a few close ups!


You can watch how I put this page together HERE:


Can't wait to share my projects with your over the next 6 months and so happy to be back on the team!


Stay scrappy my friends!

Friday, May 20, 2016

Most Favorite Process Video- Just Nick cut files

HI everyone!  This week on the Just Nick blog we are focusing on Background files!   These are some of my favorite files to use.  There are TONS to choose from in the store.

After I chose the photo I wanted to work with, I decided to go with the "Pebbles" background.  The photo is of my husband and I playing mini golf, and I thought the pebbles would be symbolic of golf balls!


Here is the finished product:


And a few close ups:


You can watch how I created this page, including how I used the shape in Silhouette Studio here:


Thanks so much!


Saturday, April 16, 2016

Hot Tubbin'

I recently got the urge to start looking for some good scrappy challenges.  Nothing gets my mojo going like a challenge that I really want to complete!

A friend pointed me in the direction of the current challenge at ScrapOur Stash to use this book cover as inspiration.

I had these photos of the hubby and kids swimming and playing in my MIL's hot tub already printed out, so I thought they would go well with these inspiration image.


I began by pulling out orange, greens, and aqua blues from my stash to match the image.  I also tried to find that maroon-ish red, but that was a bit more challenging.

I also really wanted to find something to go along with those faces!   I remembered that there was a piece of paper int he Studio Calico Amelia line that had a sunshine face on it, and when I pull it out, i couldn't believe how perfect it was!


I wanted to add a wave to the bottom of the page, and chose this cut file from the Just Nick store.  I LOVE this wave shape.  I welded 2 together to make my border.  I was going to leave it white on white, but then I decided I wanted to ad a bit more color to it, so I did a little watercolor wash with some mists and gelatos.  I like the color MUCH better.


When I was done, I didn't like how much white space there was, and I wanted to do something to bring the design together.  I traced a large arc on the page and then stitched over it with orange thread.  I like how it mimics the shape of the sun.

I seriously piked through my stash for this page.  Chipboard from MME, die cuts from Jillibean, alphas from an OLD Close to my Heart collection!  It feels good to use stuff!


Thanks for stopping by today!  Stay scrappy my friends!

Wednesday, March 30, 2016

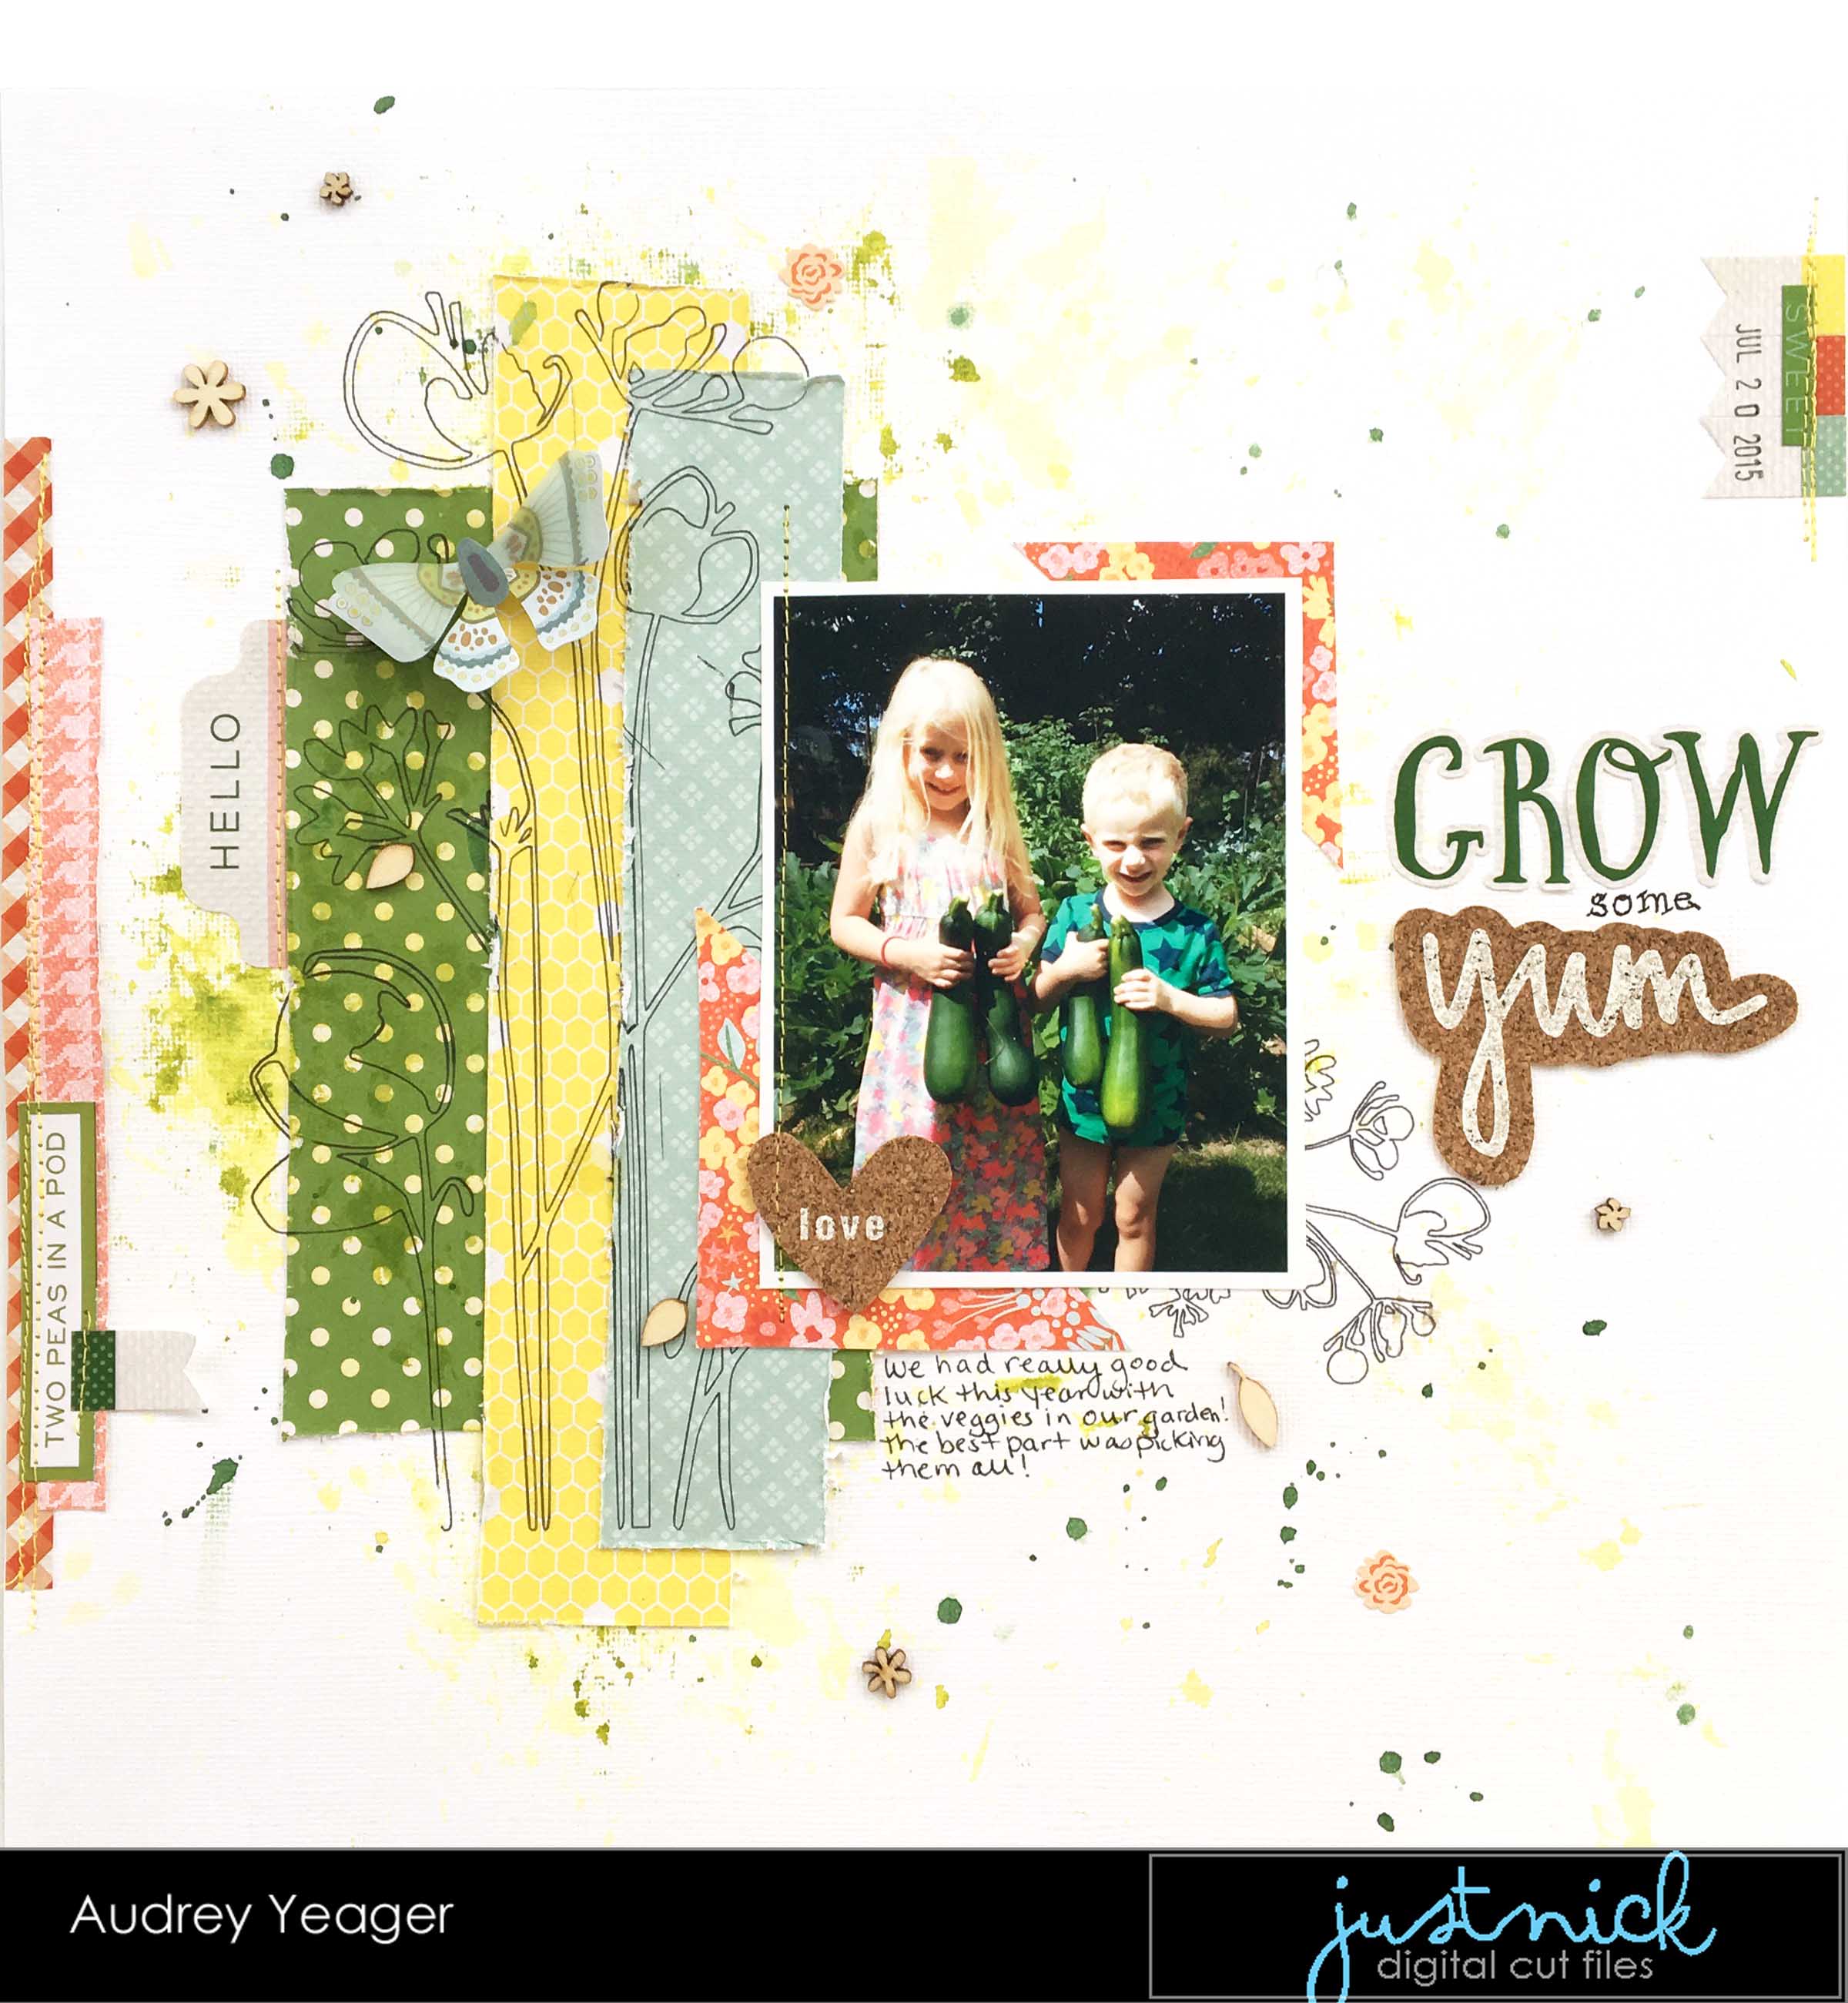
Grow some Yum! Just Nick Studios!

When I saw the Fancy Floral design in the Just Nick store, I thought it would look awesome done with Sketch Pens on the Silhouette!


I wanted to experiment a bit to see how the pens would do over layers of paper, and here is the result:


We added new garden beds to out yard last year and we had pretty good success with all the veggies that we grew!  The kids loved picking them when it was time!  These zucchini were HUGE!

I layered some papers on the background and made sure to measure where they were on the page.  In the Silhouette Design Studio, I added my file to the same area on the page and then ran the layout with the papers glued on through my machine with the pens.


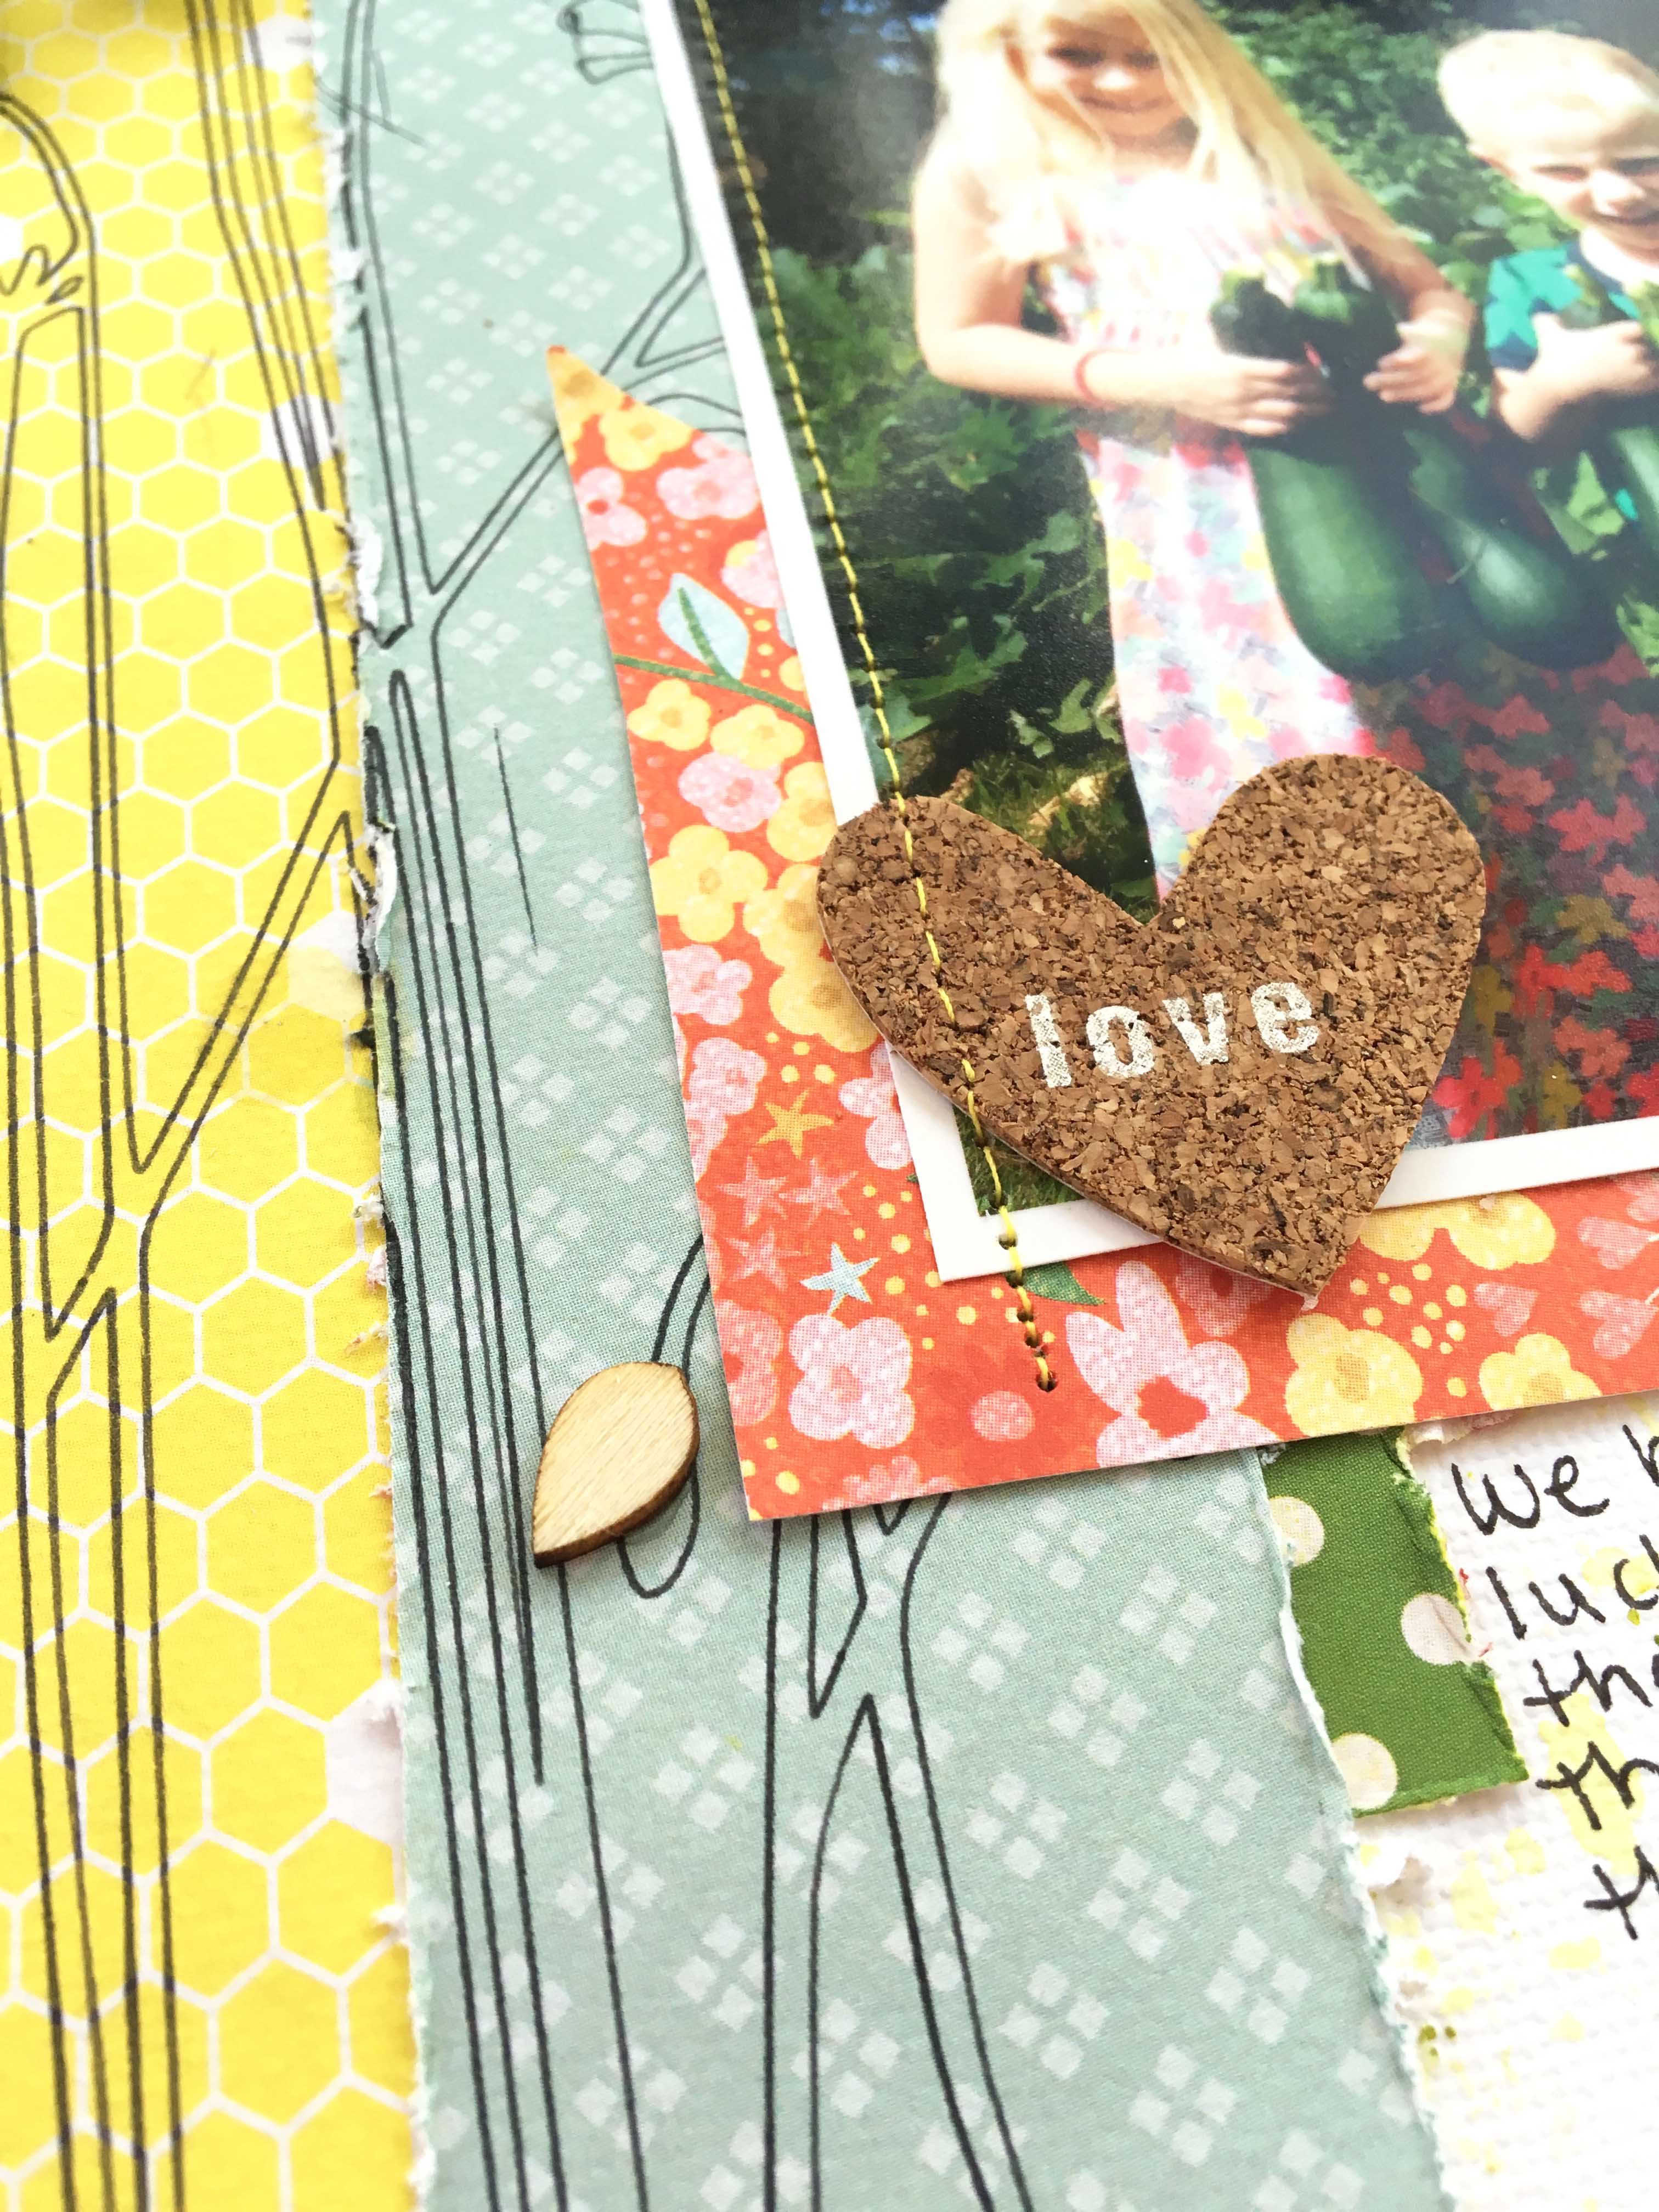
I have to say that I am surprised at how well it came out!  One thing I noticed, however, is that on the third layer of paper, there are some spots where the pen dragged a bit because the layer was too thick.  But it is hard to notice with this particular design.


If you don't have sketch pens yet, you should really try them out!


Papers and embellies are from Echo Park "Homegrown" and Basic Grey "Sunkissed".


Stay scrappy my friends!

Monday, March 28, 2016

Happy Easter! Therm O Web Super Tapes

Hello and Happy Spring!  

The flowers are starting to come up and the days are starting to get warmer!   How cute are the kiddos below in their Easter outfits from last year?  I loved their hats!  (Too bad Charlotte wasn't smiling).


I made the gold glitter and white flocked flowers with the SuperTape™ Adhesive Sheets from Therm O Web that I cut on my die cutting machine.  The Lazy Daisies cut file is available in the Just Nick store!  The springy papers and die cuts are from Pebbles and Pink Paislee. Isn't that bunny just adorable!


  Easter  


To begin, I added a piece of the square SuperTape™ to a piece of white cardstock, leaving the red film on one side.

  supertape 1  

Next, I ran this cardstock with the tape through my cutting machine to cut the flowers.  On my Silhouette Cameo, I used a blade depth of 7 and the double cut feature.
  super tape cutting

 Once cut, I weeded the design from my mat and pulled off the flower shapes.
  super tape 2  

Gently pull off the red film on a flower and add some loose gold glitter.  I glittered half of my flowers and used a white flocking powder on the others.  Once coated, it's best to rub in the glitter and flocking powder with your finger to make sure the flower is completely covered.

  super tape glitter
  super tape flowers  


 Finally, I layered the flowers together to get the desired look for my page.  A few enamel dots or buttons make great centers, and you can pop them off your page with some 3D Zots™!  And that bee brad was a bonus find in my stash from an old Crate Paper collection called Neighborhood.


  Easter close up 2

easter close up 1

easter close up 3

Easter  

Stay scrappy my friends!  Hope you had a wonderful Easter weekend!

Thursday, March 10, 2016

March Page Maps and Just Nick cut file

Hello everyone!  Have you see the wonderful sketches this month on the PageMaps site?   It is always one of the first stops I make each month when I am looking for sketches to use!  

The Just Nick DT got to work with the sketches AND use awesome cut files from the shop!

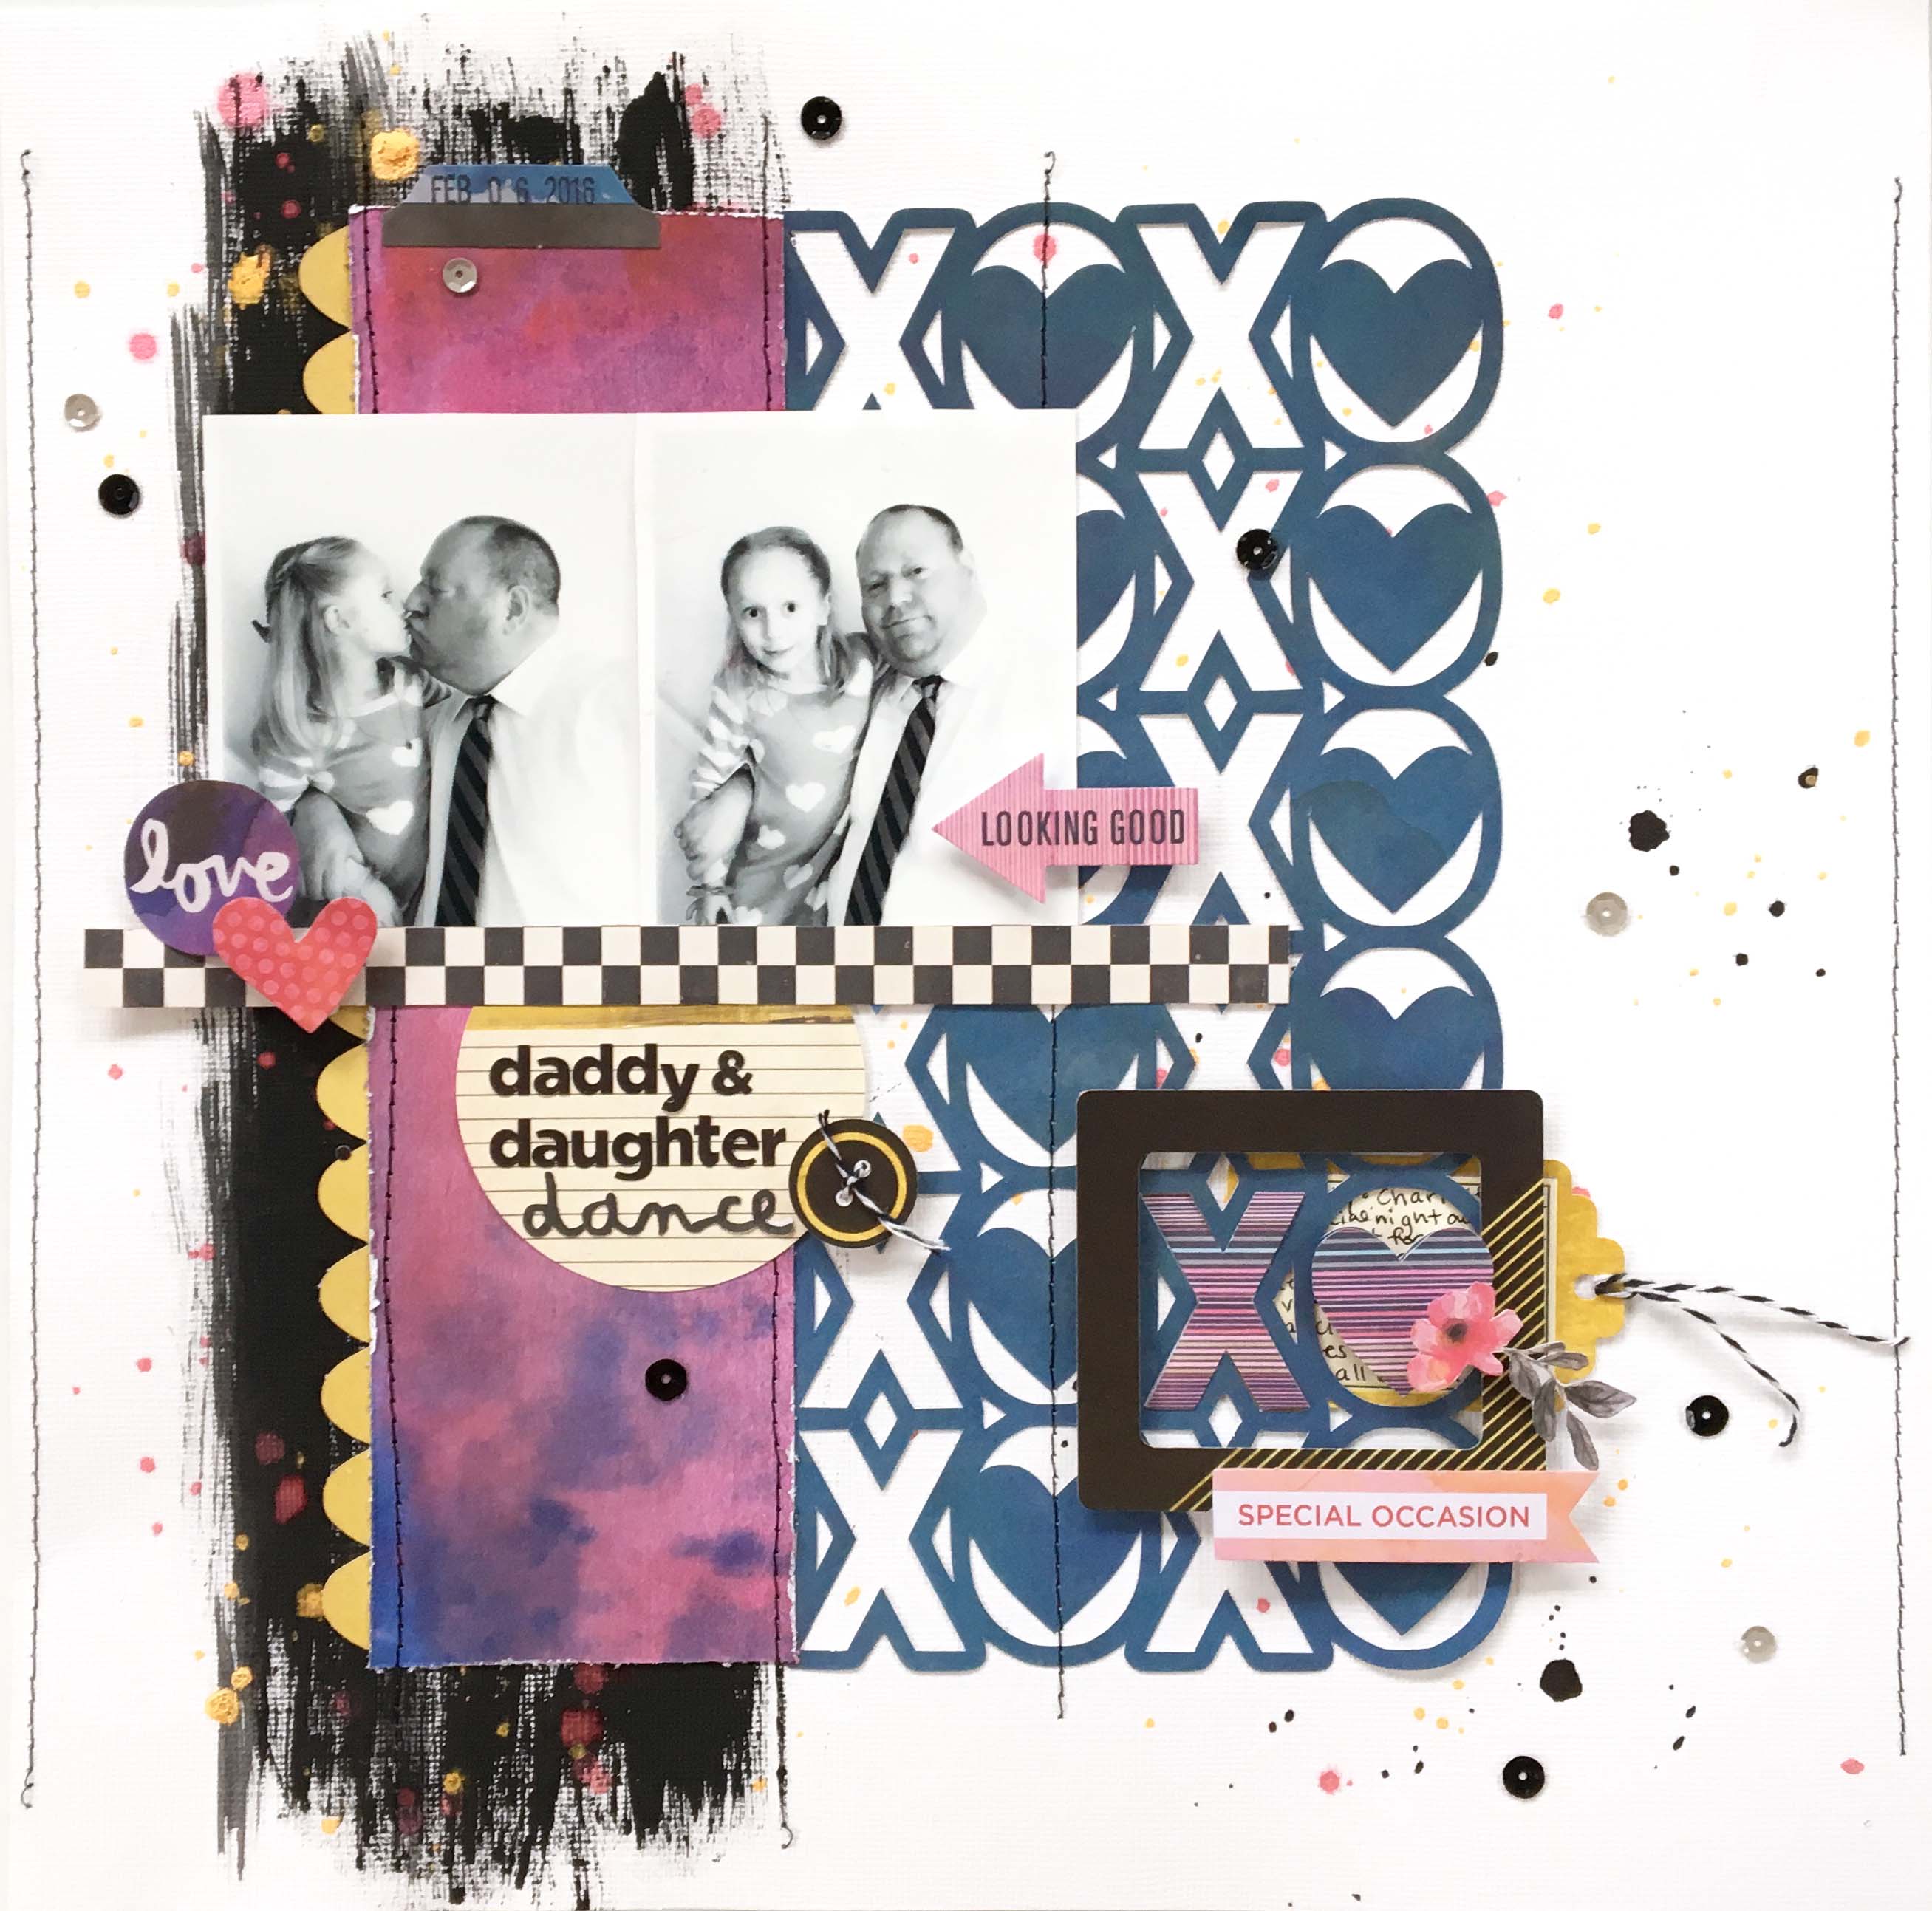
I created this page with one of Becky's sketches (which you can see HERE) and the XO Heart Background file from the store.   I used the new Urban Luxe collection from Basic Grey. 

Charlotte and Daddy got to have a special night out for the Daddy Daughter Dance.  They went out to dinner first and she got to choose anywhere she wanted.  She chose a diner!  They went to Mel's Diner and she had a burger and fries!  Then it was off to the dance for snacks, crafts, a photobooth, and of course dancing!


I followed the sketch pretty closely, using a large swipe of black paint to help balance be design.


I created an interesting embellishment cluster by layering an "X" and an "O" cut out of different papers and a frame to tie it all together.  My journaling is a tag that is tucked under this cluster.


This is a unique and different color combo for me!  I loved layering these colors and bits from the Urban Luxe Ephemera pack!

Check out the XO Heart Background cut file in the shop HERE:


Thanks for stopping by and be sure to check out this month's Page Maps!

Stay scrappy my friends!


Thursday, February 25, 2016

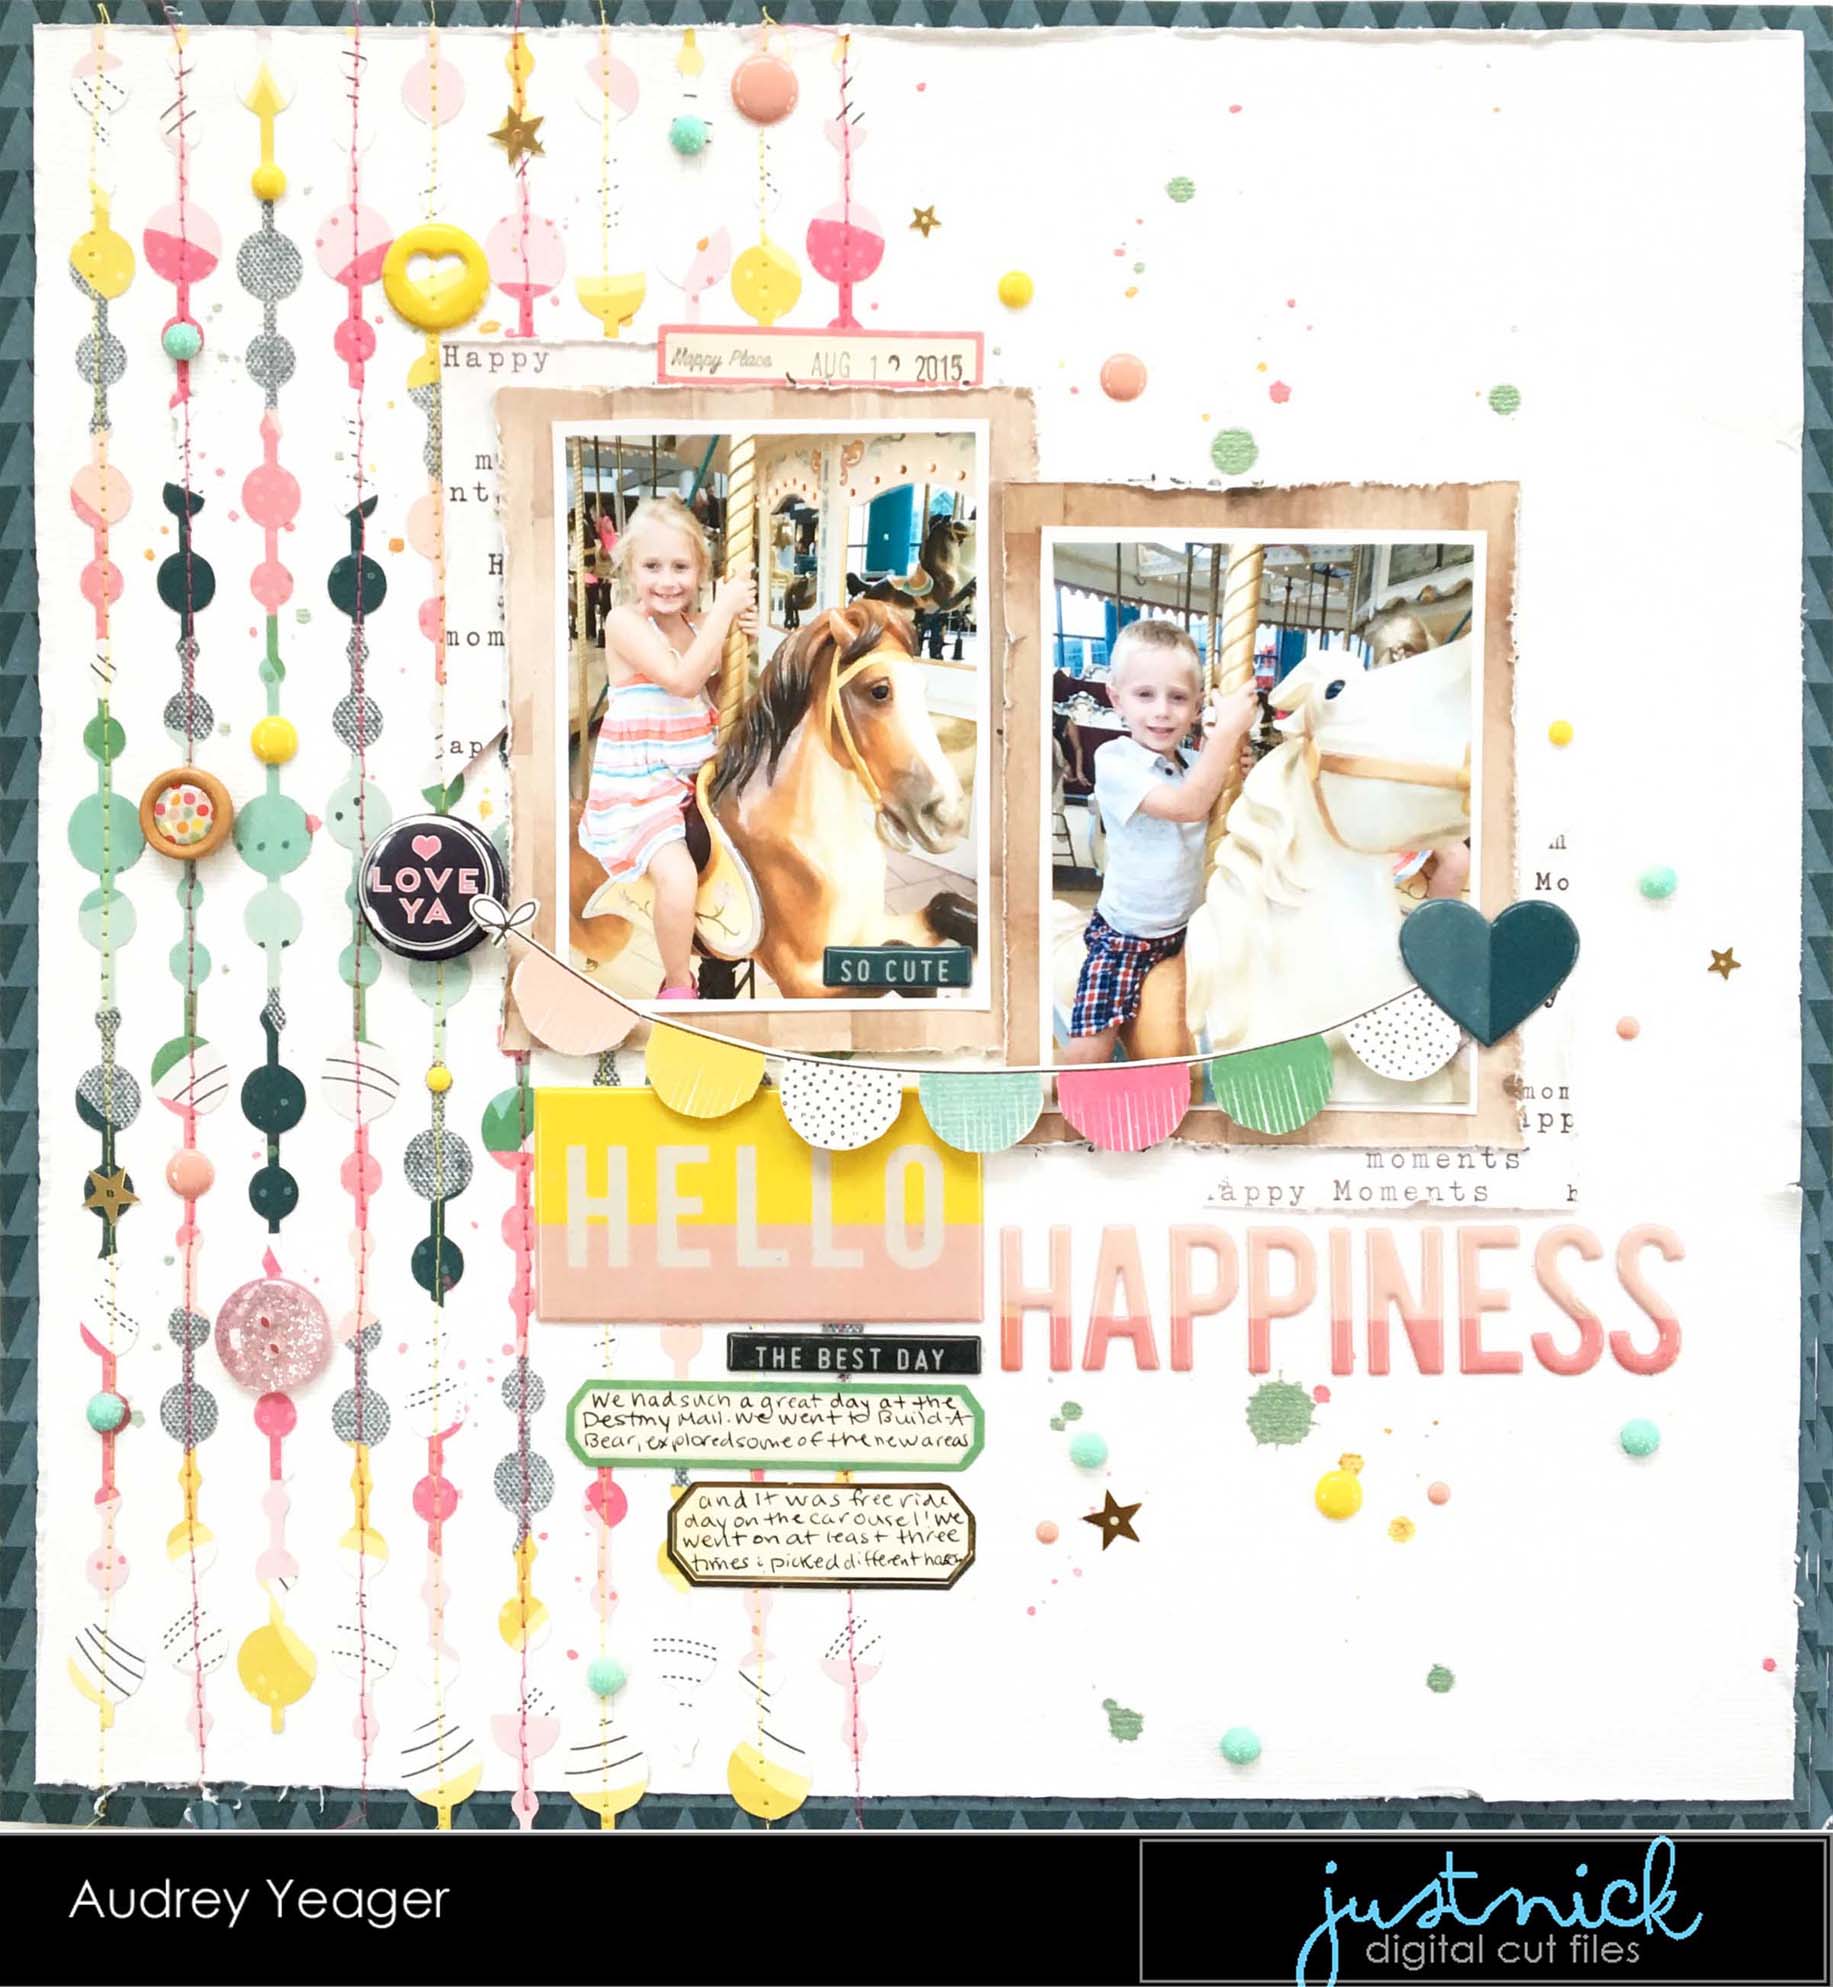
Hello Happiness!

Hello everyone!  I wanted to share this SUPER fun new cut file with you today from the JustNick Studio store!

There are just so many possibilities for the Spacey Circle Background.  Cut it big, or cut it small.

And this file works great both with the negative cut out AND the positive cut out!


I made one cut of this file from a piece of patterned paper from the Crate Paper Maggie Holmes Bloom collection with lots of colors and a busy pattern.  I glued the strips to my page and stitched over them.

I wanted to highlight some of the circles, so I added a ton of circular elements to my page like enamel dots, buttons, and flair.  All of these were from my stash!


I fussy cut out the banner from a piece of patterned paper and popped it off the page. And of course I splattered some mists around here and there, too!


Thanks for stopping by and stay scrappy my friends!

Cut files used:

Spacey Circles